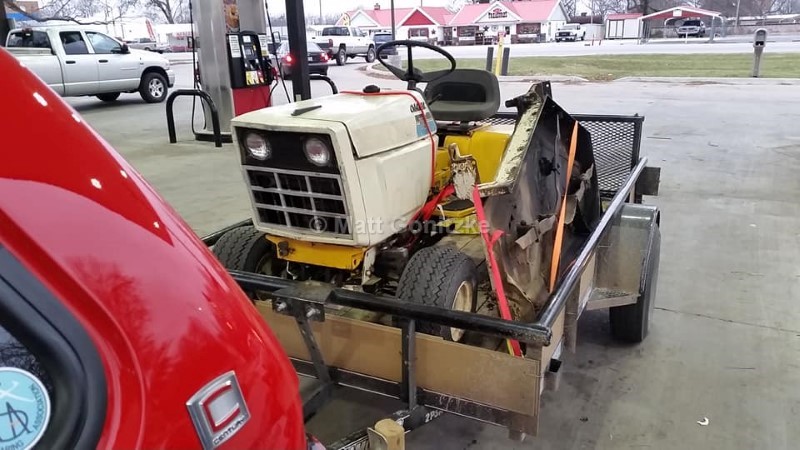
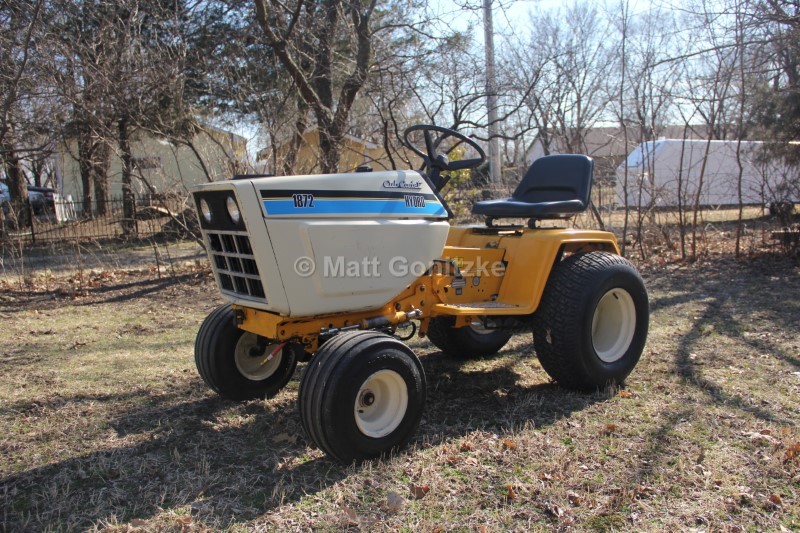
In the fall of 2018, I decided I wanted a new Cub Cadet project, and I needed a backup tractor for my 782, as I ended up having to pushmow an acre for awhile one summer while having to replace a jug on my 782 and do some other maintenance. I found this 1988 1872 near Springfield, MO, and I drove about 9 hours round trip to get it. I also had a Kohler Command CH18 V-twin sitting around from a parts tractor I had bought back in 2017.
This tractor was pretty abused, and had several oil and hydraulic leaks, so step one was a bunch of disassembly and a date with the pressure washer. The first of several dates with the pressure washer, actually.
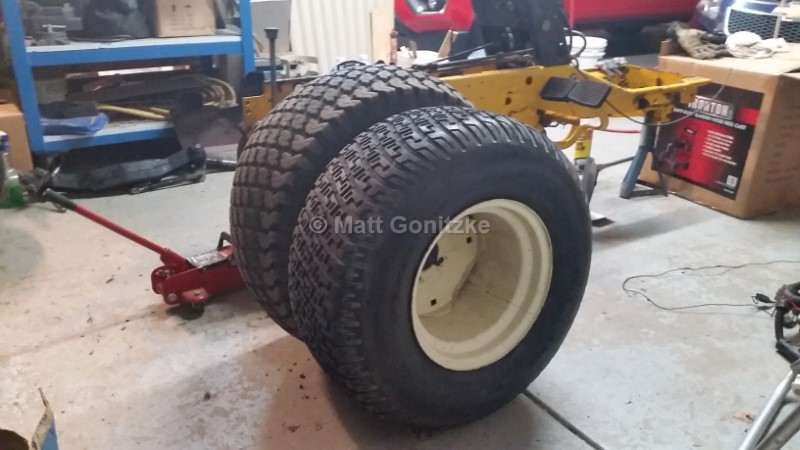
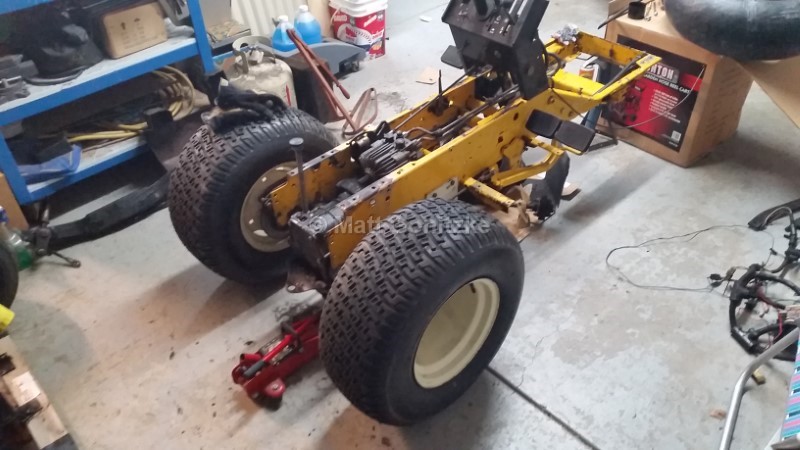
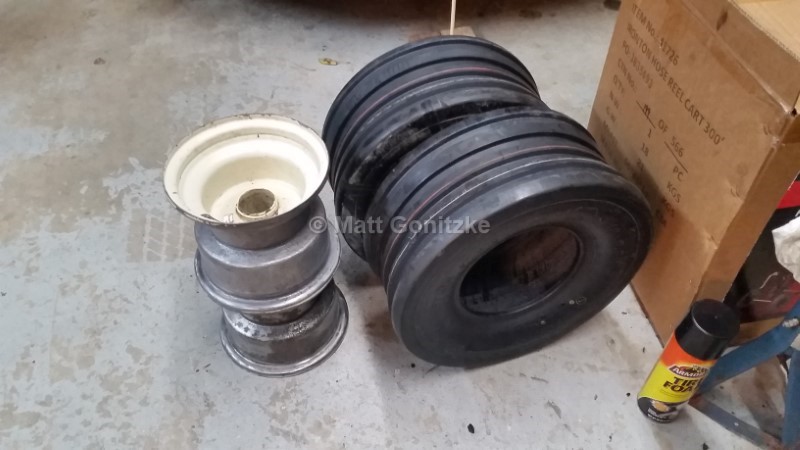
All four tires were rotten and wouldn't hold air. I got these new rear tires cheap from Surplus Center ($25 each). As is typical with the Chinese tires, they run a bit small in height.
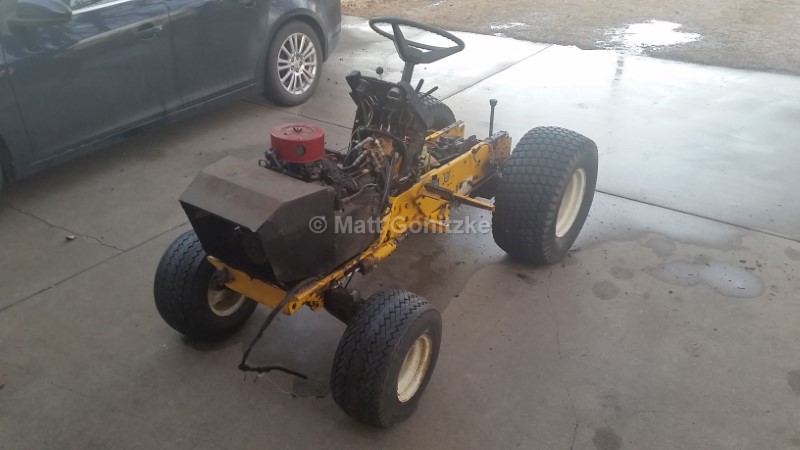
More disassembly and cleaning left me with this.
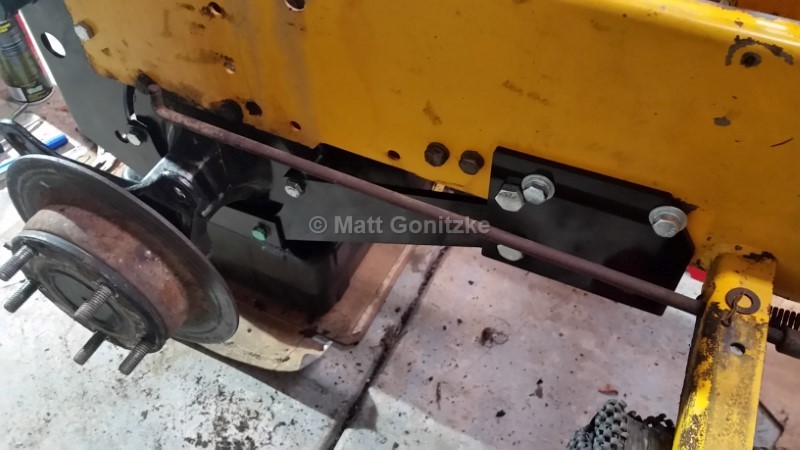
I added the Xtrememotorworks rearend brace kit, as the aluminum rear super garden tractors tend to have issues with the forward transaxle mount bolts loosening and breaking the mount. This eliminates that problem.
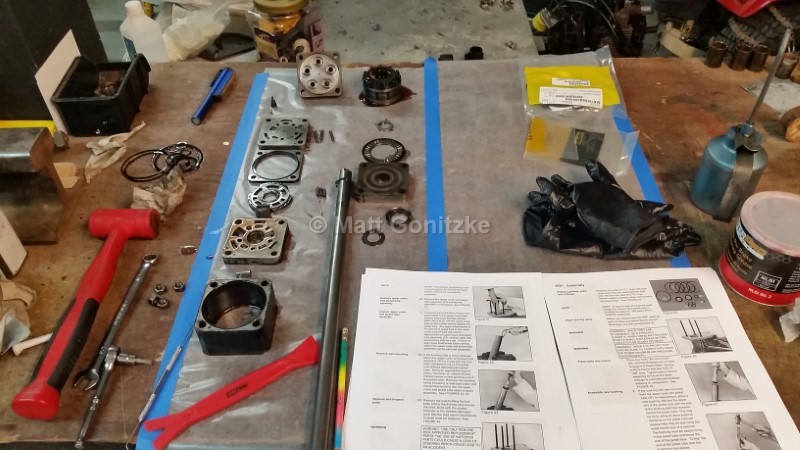
The face seal on the steering column was bad, so I bought the JD rebuild kit (lowest price, oddly enough) and rebuilt the steering sector. The new face seal is a different design, and should last far longer. Note to others: Don't try to do this without the manual. The manufacturer's instructions (Google will lead you to them) are far better than those in the Cub Cadet Service manual.
I also disassembled the front axle and bought all new bushings. I also had to replace the LH spindle, as some idiot had welded it together after stripping the splines on the pitman arm.
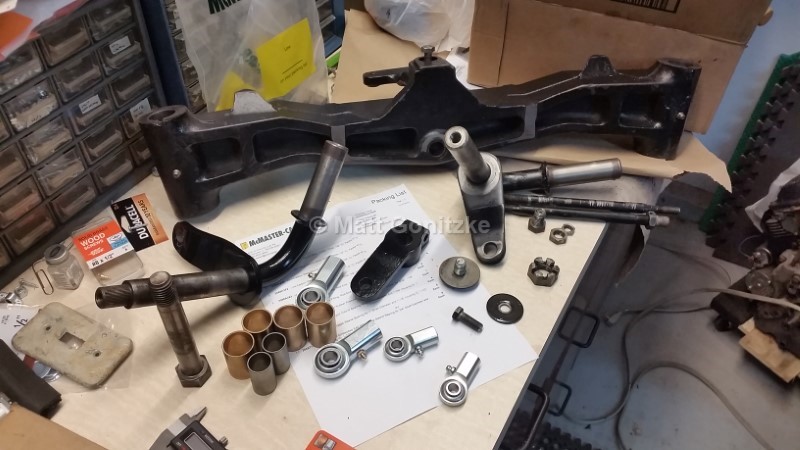
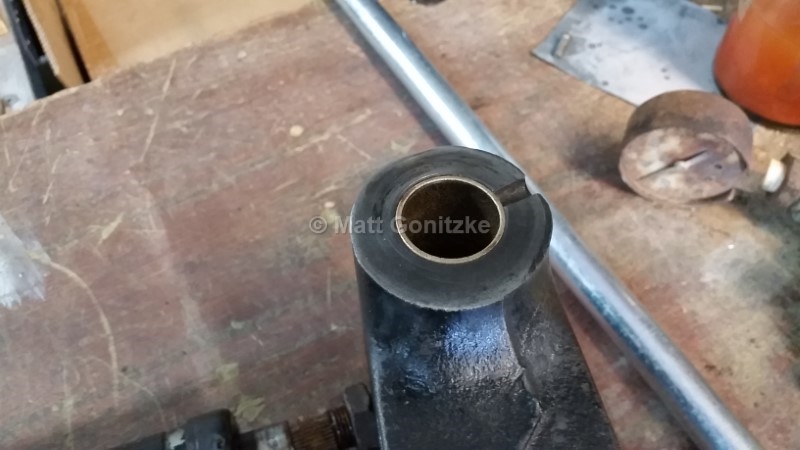
New bushings installed in one side of the axle. I also reamed the axle pivot oversize and installed bushings in it, as well.
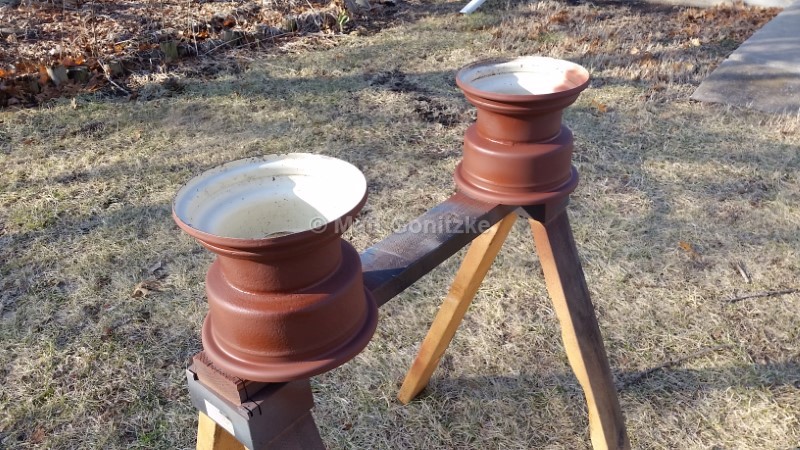
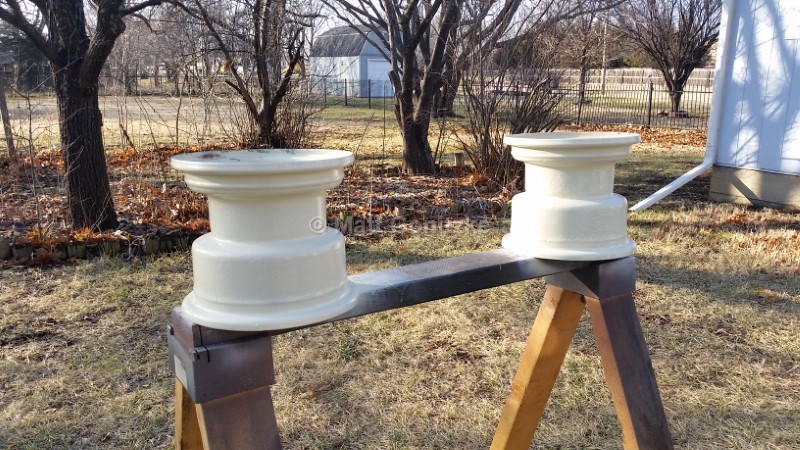
The wheels were really rustin inside, so they got stripped, primed, and painted prior to installing new Vredestein V61 tires and tubes.
The axle pivot bolt was completely worn out. I made a new one with a piece of 3/4" zinc plated rod with a jam nut welded to the end. I also drilled it for a grease fitting.

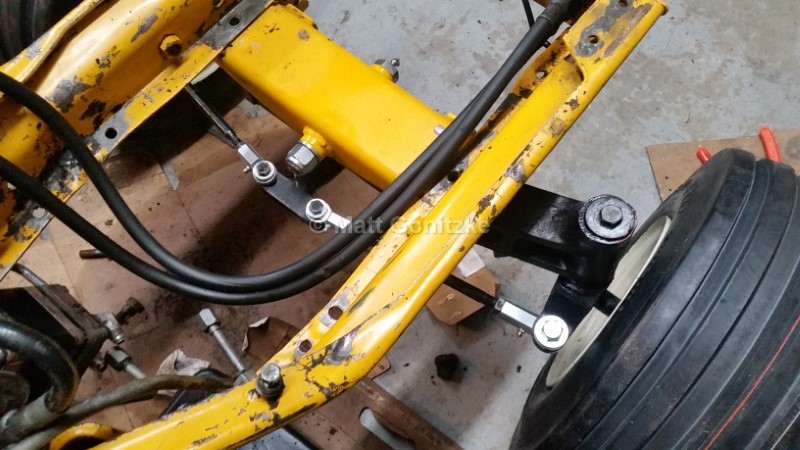
I reinstalled the front axle with all new rod ends. I also had to weld new axle pivot bushings into the frame, as they were also completely worn out.
I mixed up some West System Epoxy and thickened it with West System 403 microfibers, and used this to fill in the wear grooves in the dash, and also filled in some areas on the interior to strengthen it. After sanding the epoxy flush with the original outside surface of the dash, I painted the edge flat black. It is hard to tell I did anything.

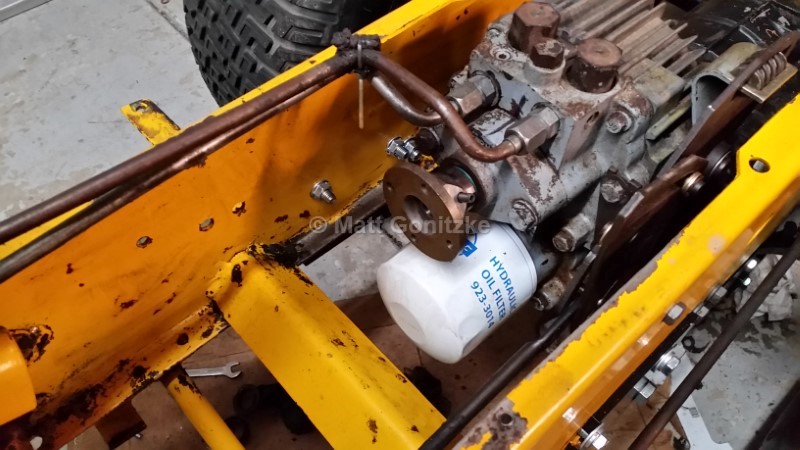
The input shaft bearings in the hydro pump were worn, and so badly that they completely destroyed the input shaft. I ended up combining the output shaft from this hydro unit with another ported hydro from a standard garden tractor to put in this tractor. I lost the splined input shaft in the process, but this is no bother to me since I will not be installing a rear PTO. I modified a 2000 series transmission coupling and installed it, in preparation for installing a cut-down 2000 series driveshaft. At the bottom of this page, I have attached a PDF file of the engine swap on this tractor that also contains details about the driveshaft conversion.
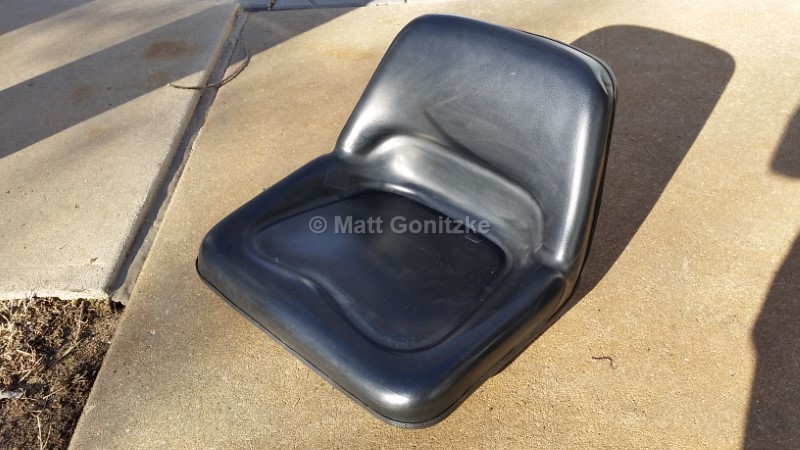
In order to control cost on this, I spent some time combining a couple of used seats into a good one. I had back home in IL a repainted seat pan of the correct mounting pattern, as well as an otherwise identical nearly new seat with the wrong pattern. I put the cover from that one onto the correct pan with a new piece of edging I bought on Amazon, and then filled a couple small holes with a tube of seat repair goop I found at Menards. Not bad for about a $20 total investment.
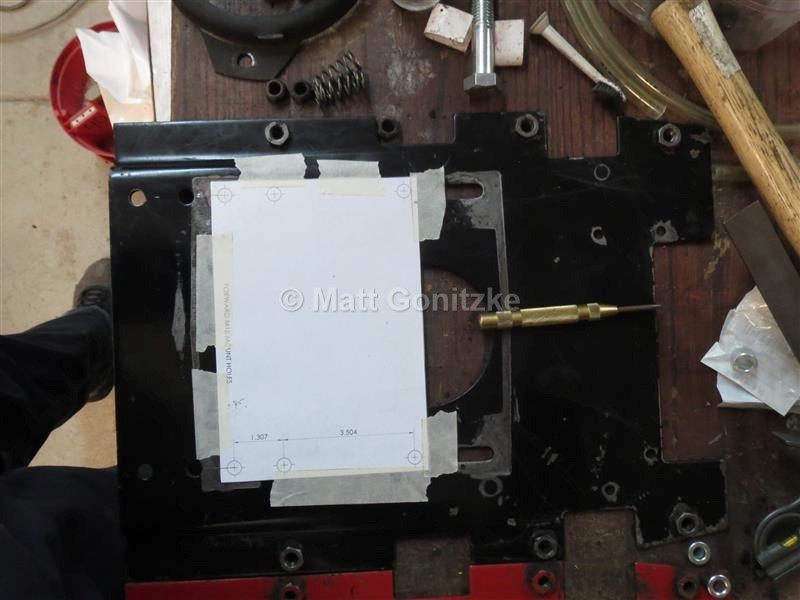
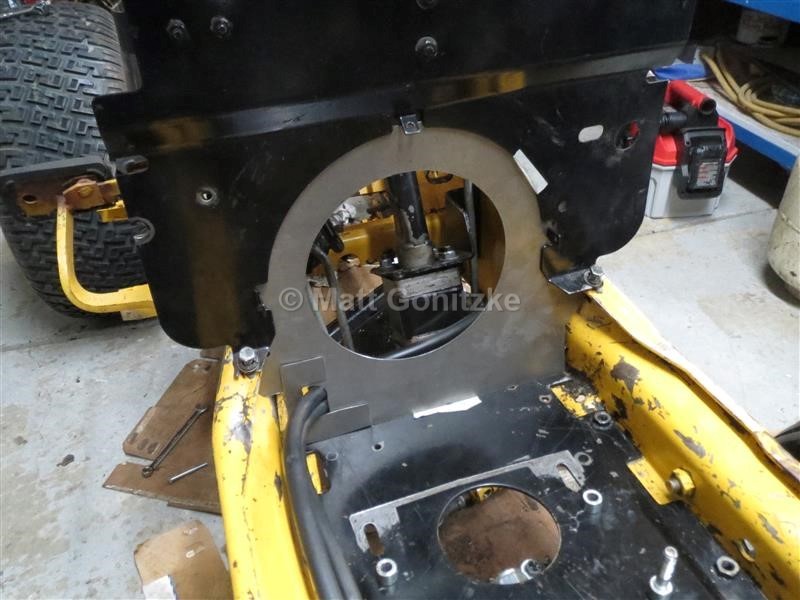
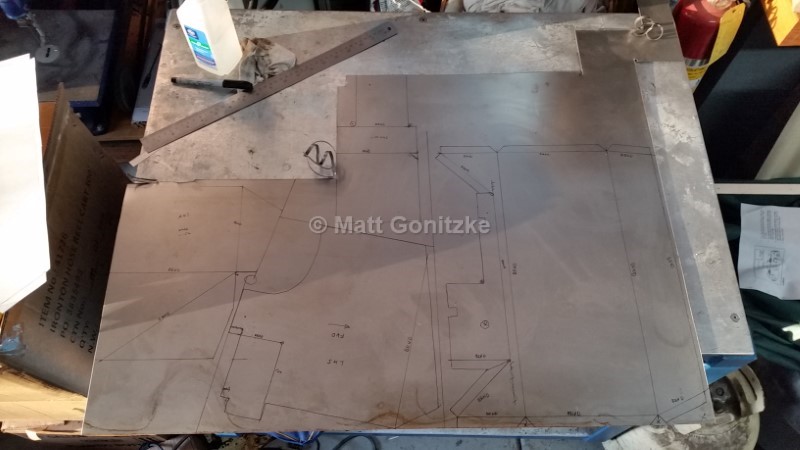
Step one in mounting the Command into this tractor was to drill a couple of additional holes. Using the mounting bolt pattern given in the service manual for the Command and the original engine, I drew up a drill template that would locate the new holes using the old holes as a reference, which would then cause the PTO clutch to end up in the same relative position, so existing attachments would work.
I added a piece to further seal off the firewall since the Command engines run hot due to current emissions regulations.
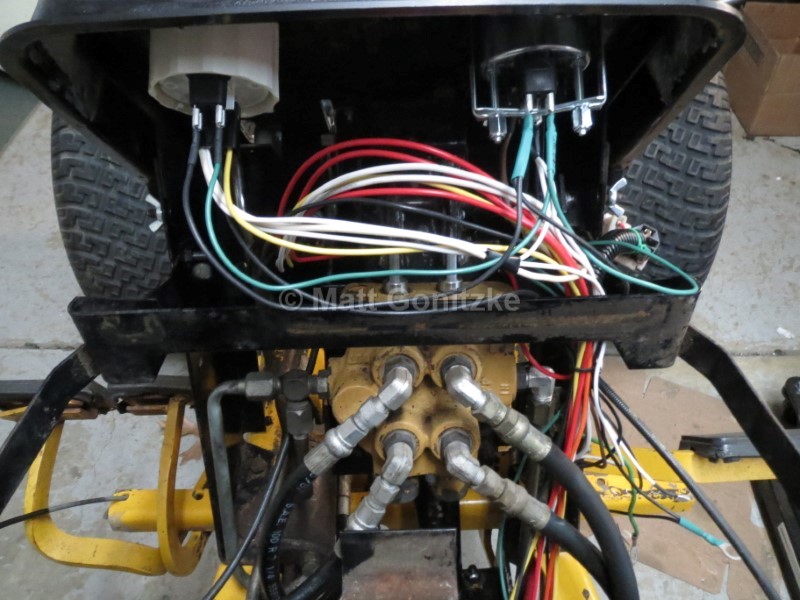
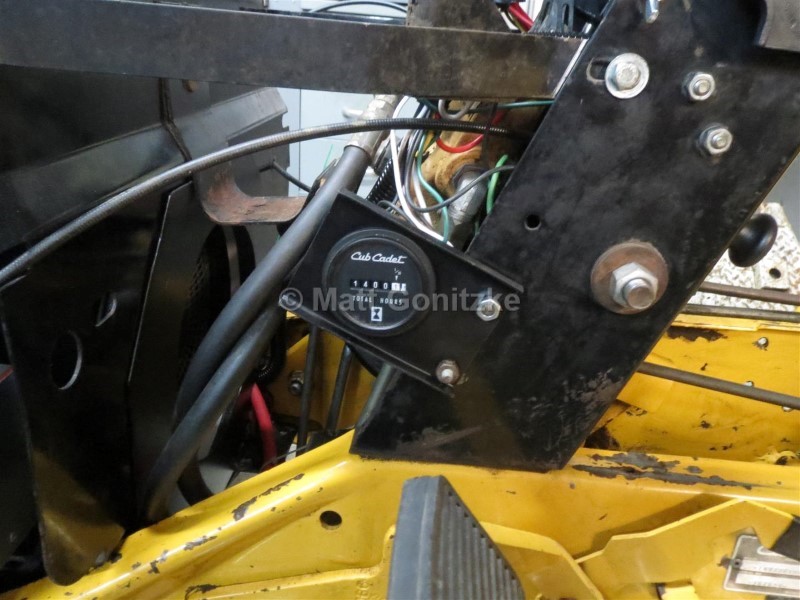
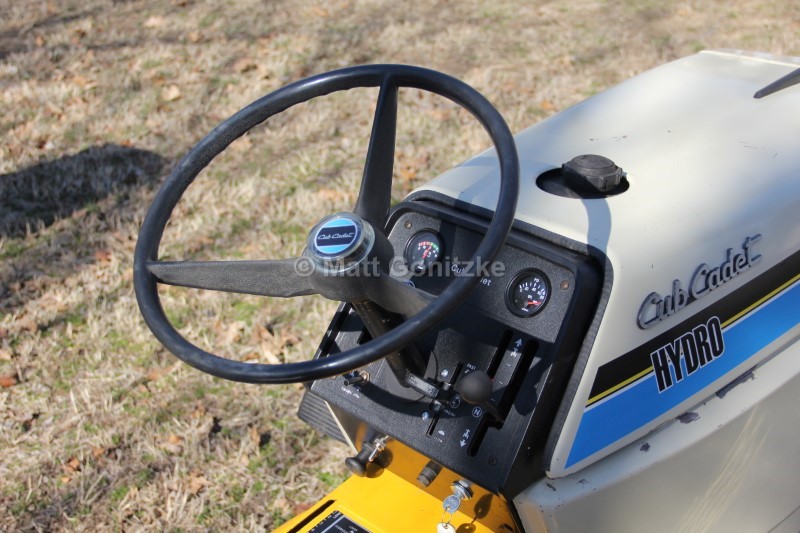
The wiring in this tractor was pretty hacked up, and I had a bunch of wire left over from another project, so I bought some new Packard 56 terminals (the original ones in the plastic connectors) and made an entirely new wiring harness. I eliminated the safety switches, and wired in a voltmeter instead of an ammeter, moved the hourmeter below the hood, and put an oil pressure gauge in its place, as oil pressure is a good way to monitor engine temperature on an air-cooled engine.
Here is the dash with the new gauges.

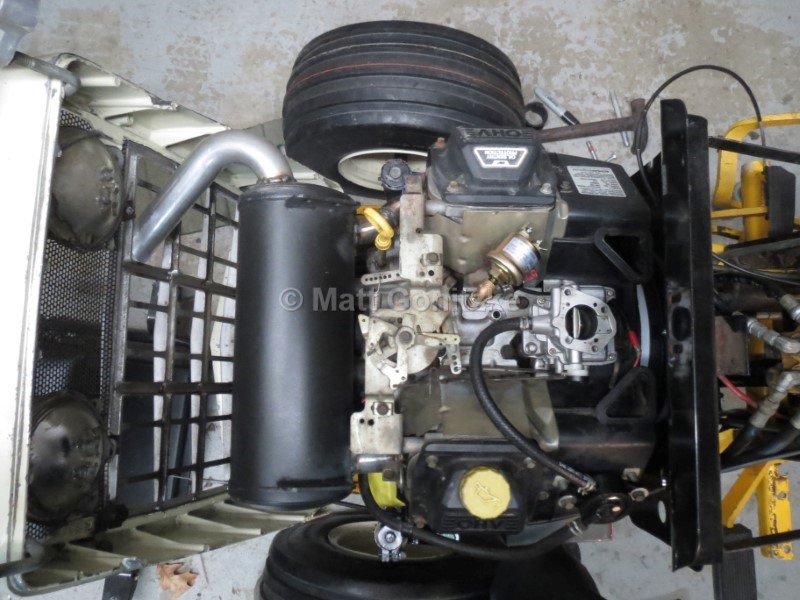
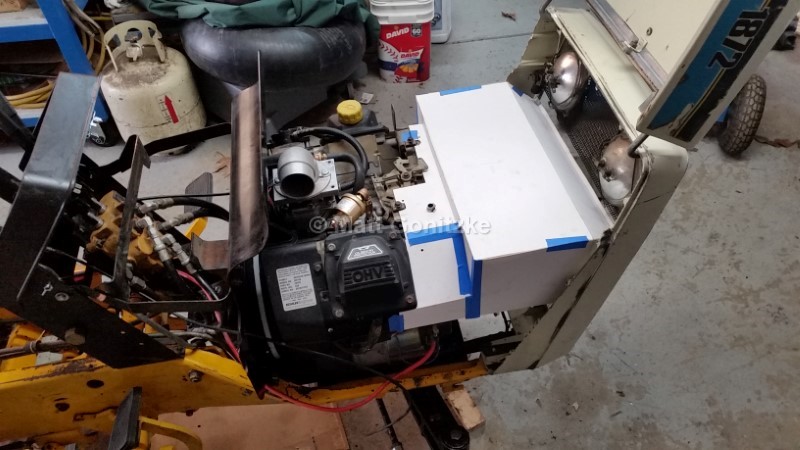
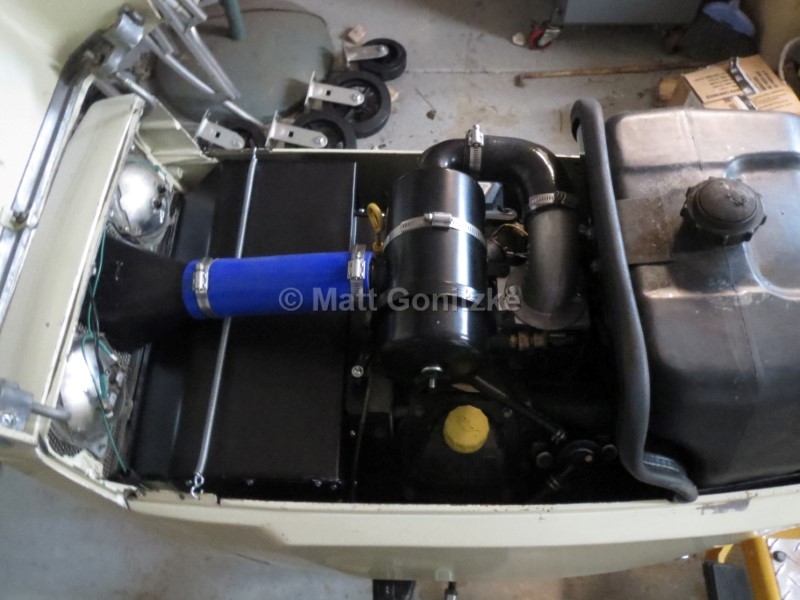
Here I have the engine installed, and a surplus new muffler modified to work without cutting up any of the grille. The plumbing for the oil pressure gauge sender is also visible. I put a tee in the port as to keep the idiot light, as well.
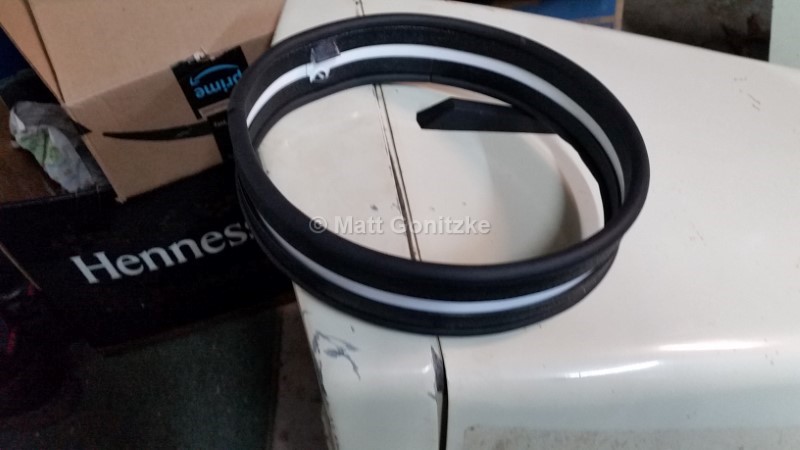
I made a duct to seal off the space between the firewall and engine so that the flywheel would only draw in cool air from below the tractor for cooling.

I mocked up a new muffler shroud with cardboard. This is a pretty important thing to do, as most of these swaps I have seen have no shroud our heat shield, and so the hot air doesn't get ejected out the front, and the engine overheats.
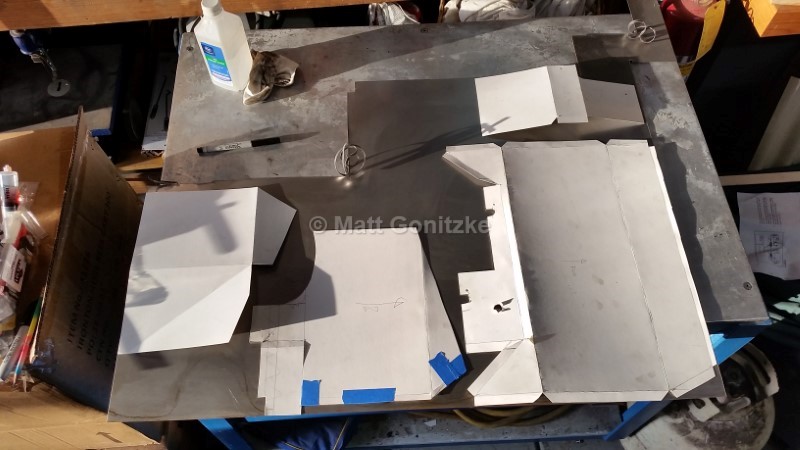
I then transferred the cardboard mockup to sheetmetal and cut out all of the parts and formed them.
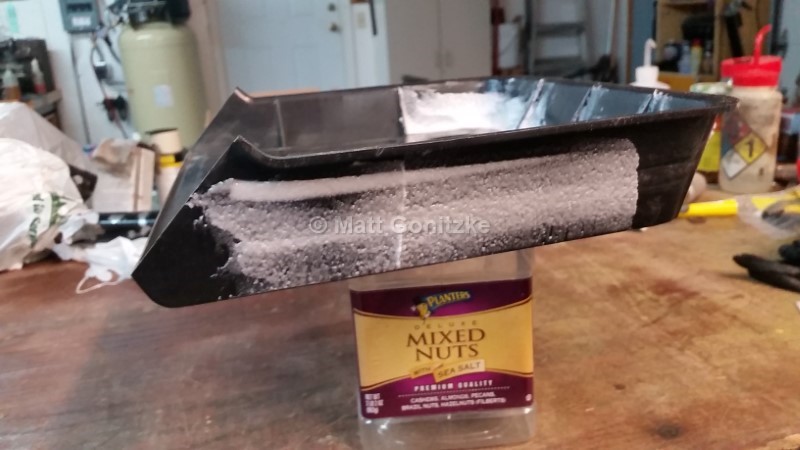
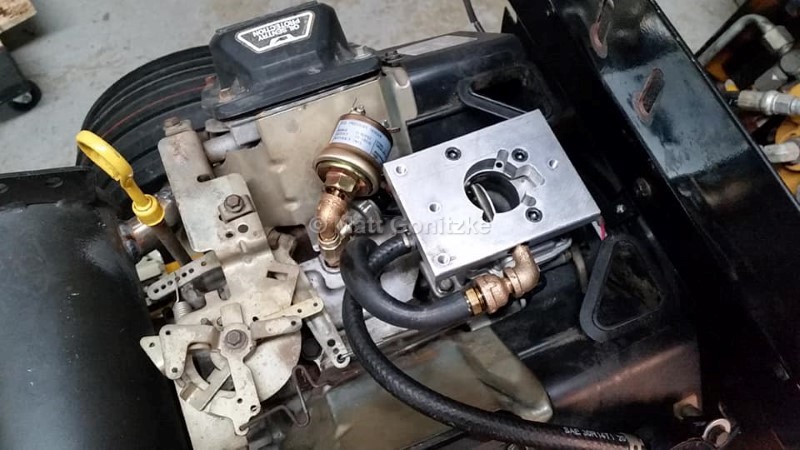
The original air cleaner assembly on the engine interferes with the firewall, and has to be trimmed to clear. This introduces hot air into the intake, which is not desirable, although it may not be a problem. Playing it safe, I bought a heavy-duty remote air filter, and adapted it to the engine by making an adapter plate (into which the crankcase breather is also routed.
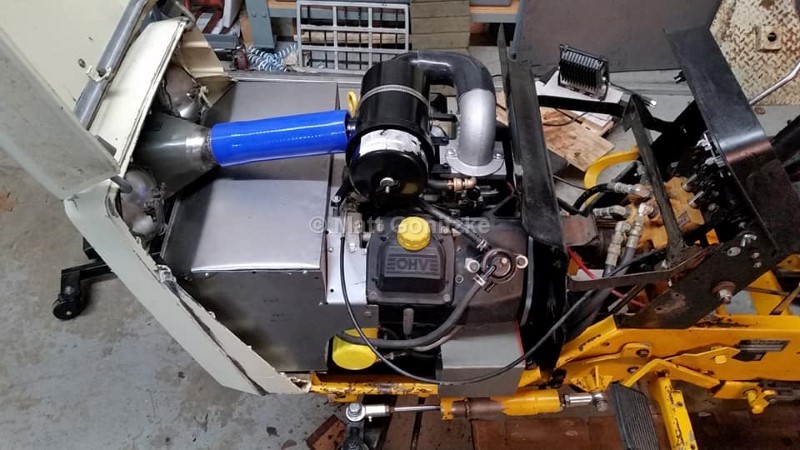
The completed engine installation, with mufller and shroud, and air intake that draws in air from between the headlights. I had concerns this would also heat up the air, but so far it has not caused any problems.

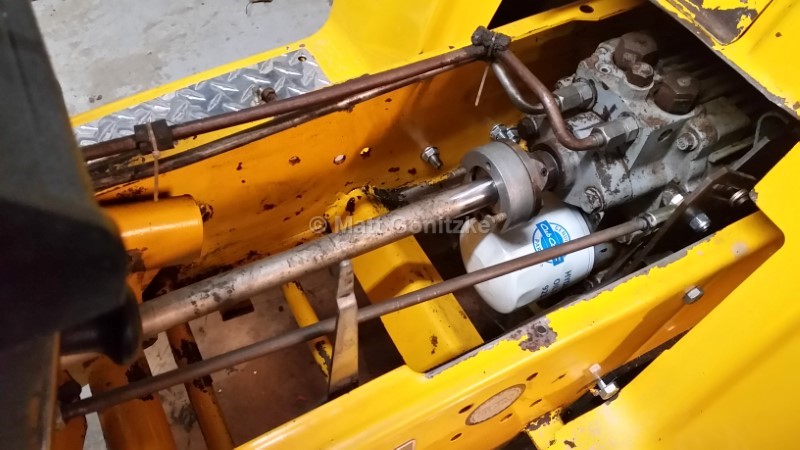
I cut down and installed the 2000 series driveshaft (more details in the PDF file at the bottom of the page) and measured the runout. I was happy to have less than 0.010" of runout. There is no vibration with the engine running.
The completed engine installation with the side panels installed.
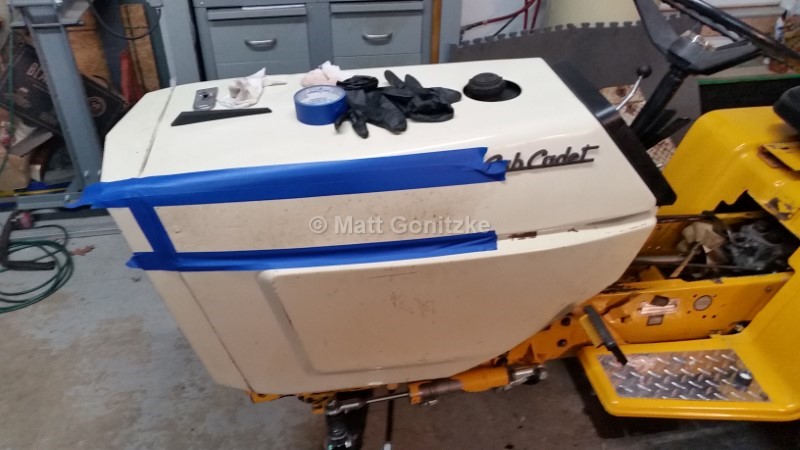
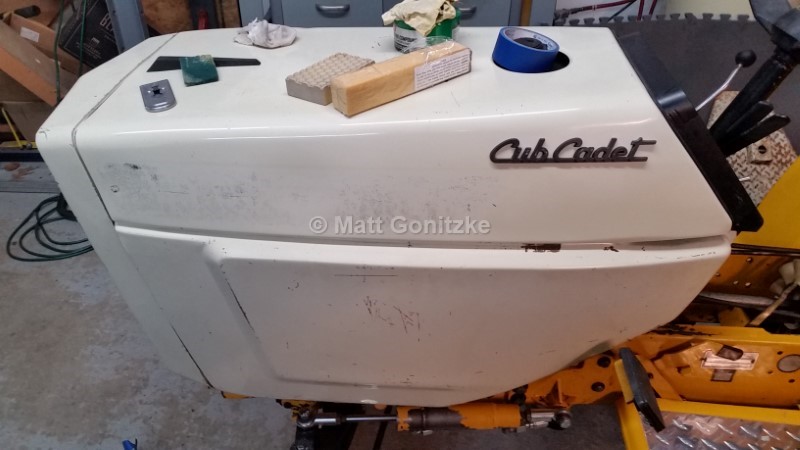
The old decals were falling off, and the original paint on the tractor cleaned up nice enough, so I bought a decal set from Maple-Hunter and put the hood decals on. In my opinion, the colors and graphics are closest to the original for this series of tractor than the others that are available. I used Goo Gone, a razor blade, and mineral spirits to carefully remove the old decals and residue, and then cleaned and polished the hood with rubbing compound before applying the new decals.
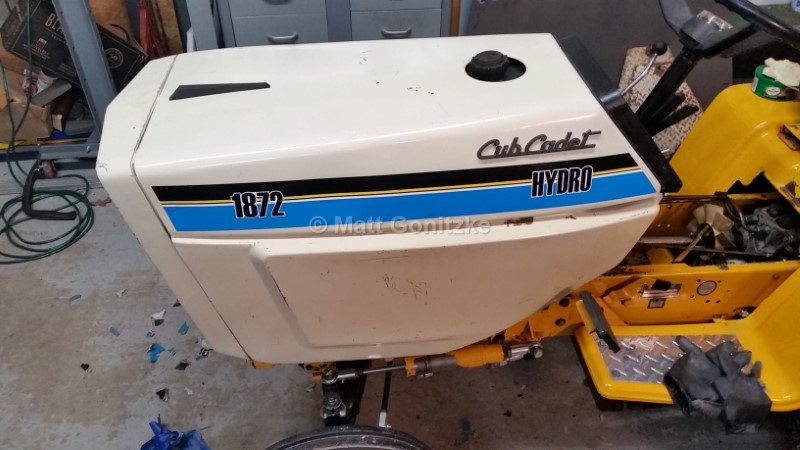
Finally complete! I installed a GT 3-point with an Xtrememotorworks lift bar that allows this to work, and I also fixed up the Haban 60" deck and used it to mow my grass. I have also since filled the rear tires with 6 gallons of washer fluid each, as the rear of this tractor is pretty light.
After getting the tractor operational, I rigged up EGT probes in each exhaust port and set out to tune the carb, as it is very lean from the factory. Most of these I have found come with either a #150 or #155 jet. I currently have a #160 jet (These are Keihin CV style, available on ebay) but I think a #157 would be ideal, if I can find one. Switching to the #160 jet lowered the EGT by about 100 degrees F from 1500 to 1400 degrees F. I have about 30-35 psi of oil pressure when hot, even in 100-degree weather in the summer, so I am confident that all of the mods I have made are working to help keep the engine cool. I have not experienced any overheating issues with this engine swap, unlike quite a few others who have done it but not paid attentiont to details.
Here is a document with FAR more info about the Command Swap and 2000 series driveshaft conversion.
82 Series Command Swap and 2000 Series Driveshaft Conversion