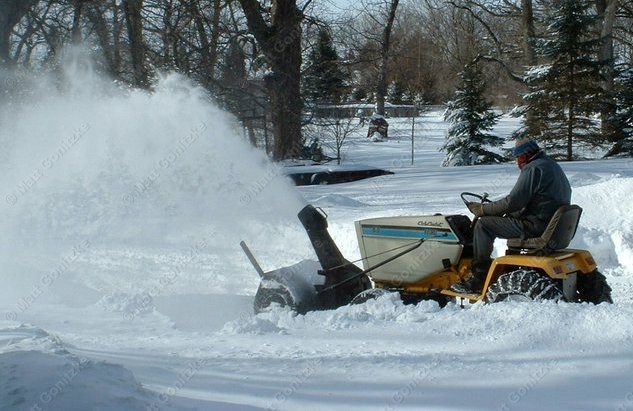
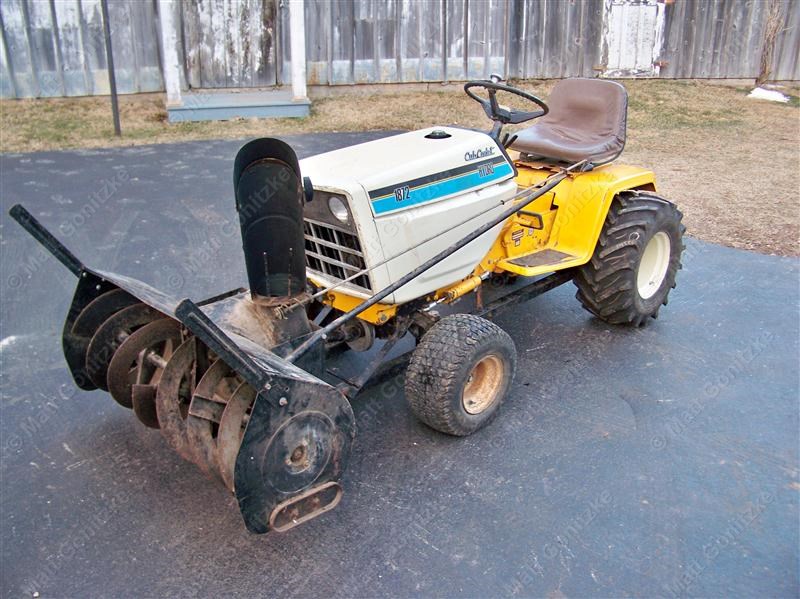
Aside from the Kwik-Way loader on my 682, this is my largest attachment, weighing in at about 250 lbs. I was looking for a 450 Snowblower for my 1872, but found this nearby over my winter break in late 2010. It's in really nice shape, as it was used little and sat for most of its life. Pictured above is my Dad using it while attempting to clear a ~20" snowfall that occured early in 2011. The blower itself worked good, but the 1872 didn't have enough traction. The addition of the cab should help that a bit. The 364 is a 45" 2-stage snowblower.
After studying the operation of both the 450 and the 364, I've decided the earlier 364 is a better piece of equipment. The 450 had a lift system that could overcenter, bind, and break the lift rockshaft, while the 364 uses the deck lift arms. The short belt, automatic belt tensioner, and U-joint driveshaft are superior to the more complex belt drive in the 450.
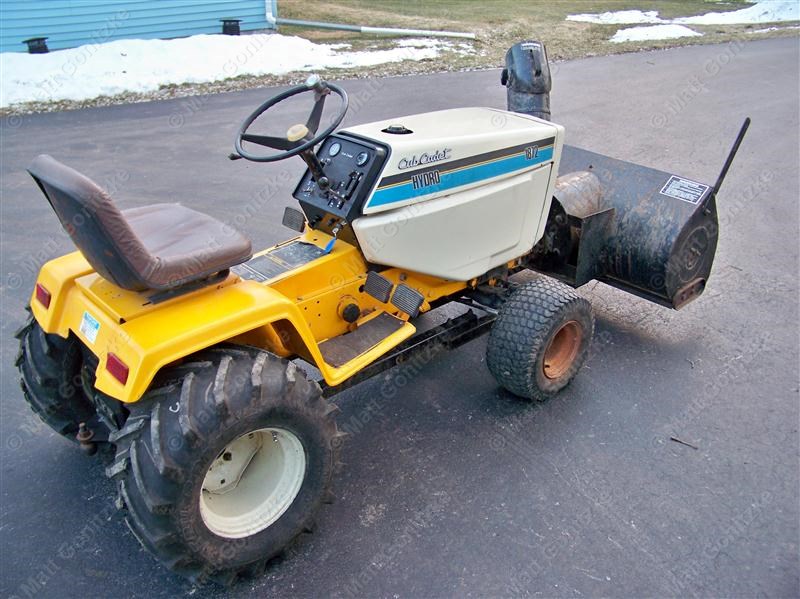
The 364 uses long arms that attach towards the back of the tractor. Unfortunately, I didn't get the mounting brackets that connect the arms to the tractor, so I had to make my own. I kept adding structure until it was stiff enough. The next few pictures detail what I had to do to mount it. Only existing holes in the frame of the tractor were used, as with all of my projects. I never make anything that requires holes to be drilled in the tractor. The exception was the cab, but it was originally designed to be mounted that way.

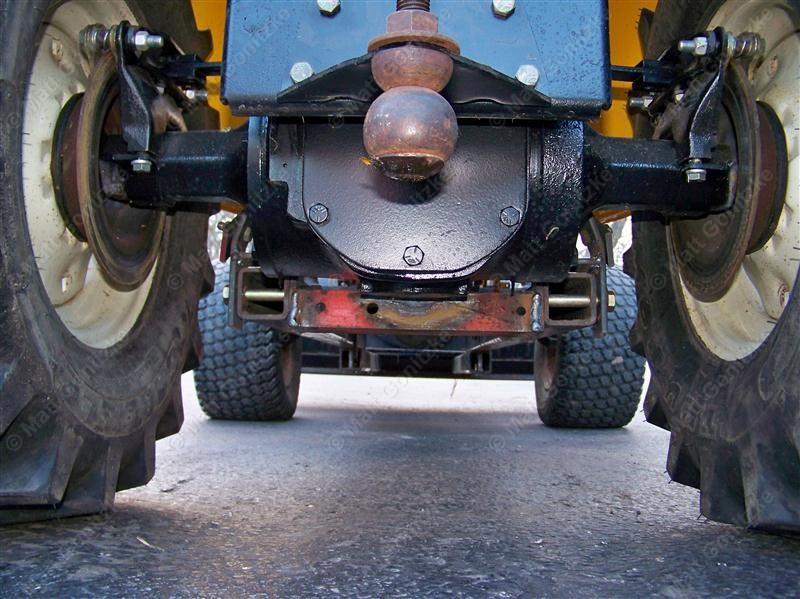
In case you were wondering, the upside-down hitch ball is for jacking up the rear of the tractor to scoot it crossways into storage in part of our barn.
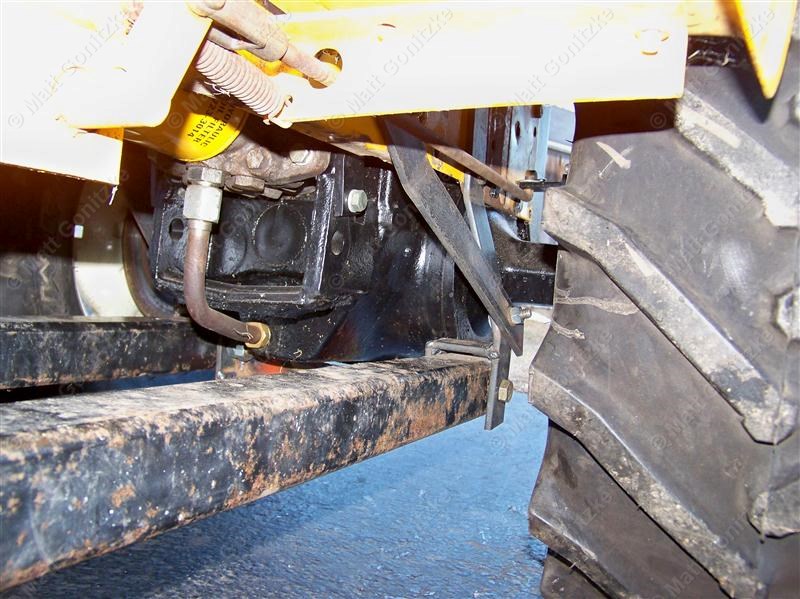
The next series of pictures below show it mounted on the tractor.
I also had to make new lift links. The ones shown in this picture were too short- the blower raises nice and high but doesn't touch the ground when the lift is all the way down. The next set I made wouldn't let it lift high enough. I finally got them right on the third try the following summer. The 1872's rockshaft float is rusted stuck, which isn't good. I'm hoping this massive attachment will eventually break it loose.
The chute rotator that came with the tractor would no longer work once I installed the Sims Cab, so I had to rework that, as well. I made a new worm shaft and a bracket to hold it in place, then made a separate, removeable handle that can be disconnected to raise the front of the cab to open the hood.

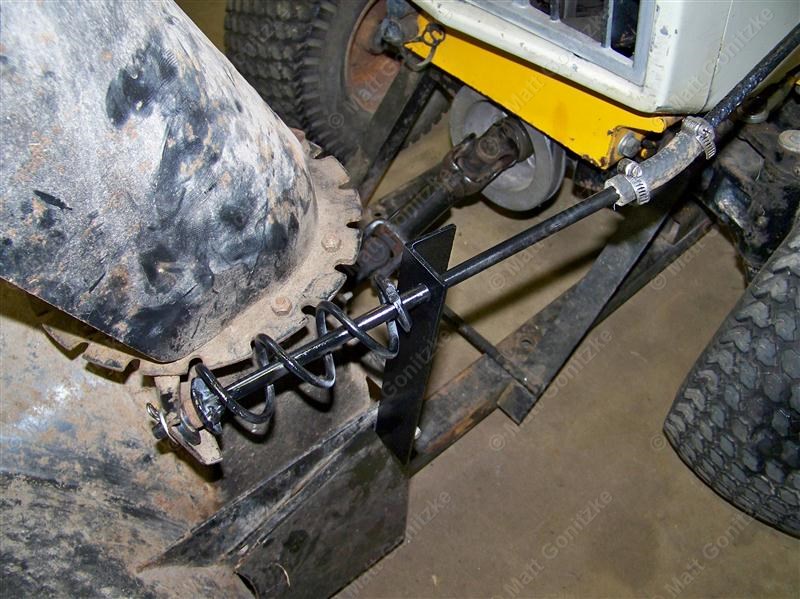
I didn't have a U-joint, but this works really good since the angle between the two rods is pretty shallow. It's a piece of 3/8" fuel line and two hose clamps. It's easy to disconnect and works perfectly.

Here's how the handle looks inside the cab.

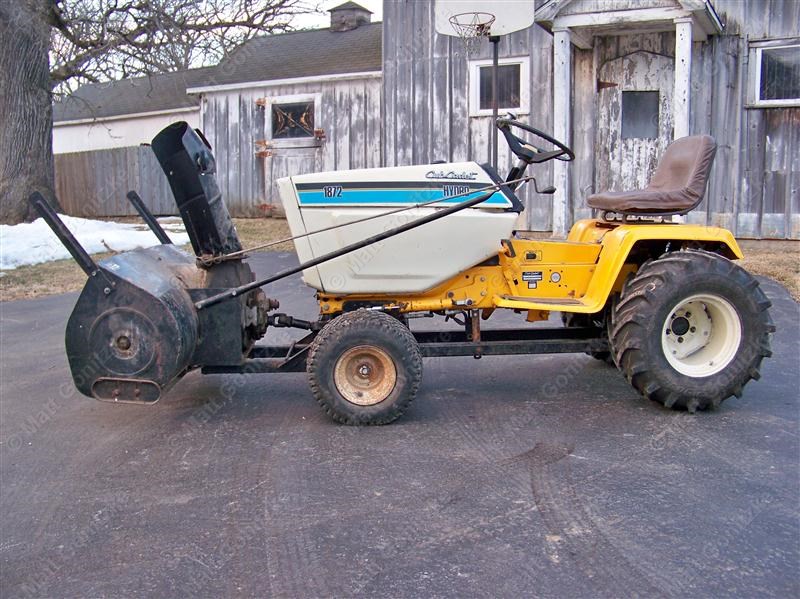
All done and ready for next winter.