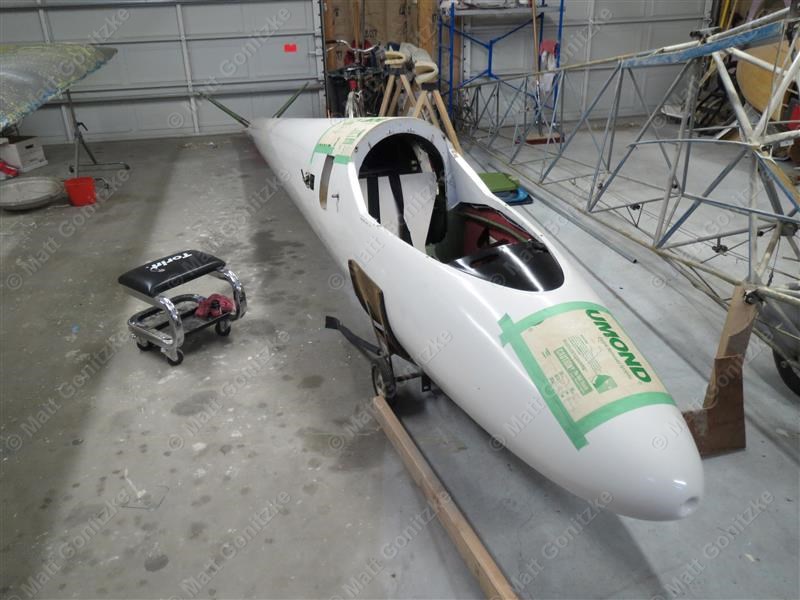
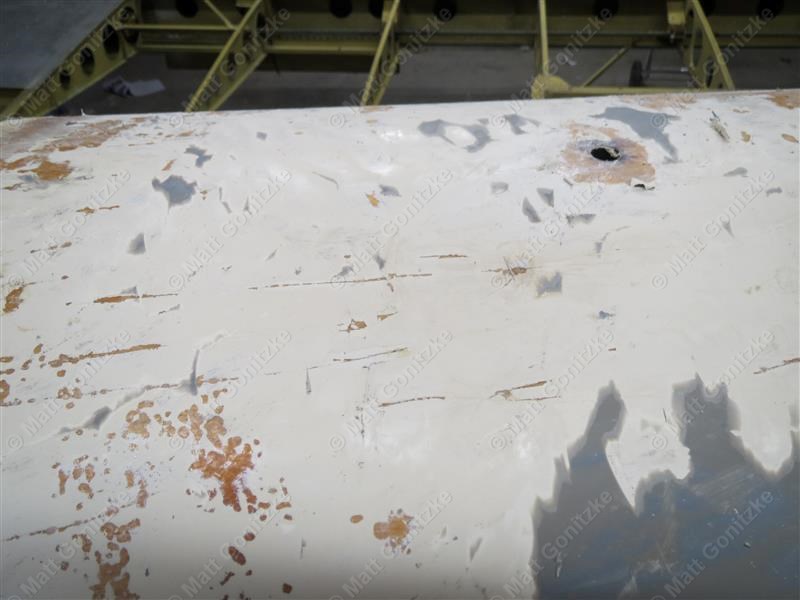
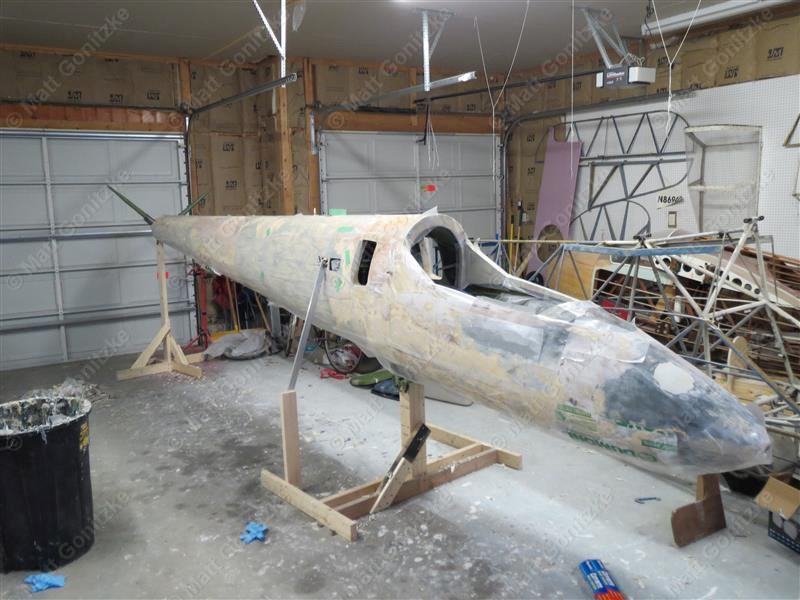
The Austria returned to Tony's garage once again so I could strip and refinish the fuselage and clean up a few other things. The paint probably doesn't look bad in the pictures, but up close the problems were more apparent. Like the wings, large areas of the paint had cracked and were falling off, exposing bare wood. As much as I like fixing things, I'd much rather be flying, so in January 2013 I started work on the fuselage so the glider would be completely done and ready to go. Complicating this effort was the fact that at the beginning of October of the preceding year, I started taking night classes towards obtaining my Airframe & Powerplant mechanic certificates, a brutal program that requires five semesters of class from 4-9:50pm, 5 days a week, in addition to me working full-time as an engineer during the day. I spent many long hours every weekend working on the Austria with the hope that I'd be able to finish it in time for the beginning of the season in May. At first that looked like an easy goal.
I started slowly by testing some different paint stripper. The Klean Strip methyl chloride stripper worked great on the wings, but it was messy and rather dangerous. It also is not supposed to be used on fiberglass, and the Austria's fuselage is fiberglass from the aft edge of the canopy forward, so I needed some different stripper. A friend was using Peel Away 7 to strip his Ka6, so I bought the sample can to see if it would work on my paint. It is a much safer stripper, but also much slower, although the glacial pace at which it was working may have been related to the frigid temperatures during this part of the restoration process. Basically, you apply an even, thick coat of the stripper and put this special paper over the top of it, which keeps it from drying out. Then, you come back 24 hours later and "peel away" the paint with the paper. For the outermost layer of paint, that's more or less how it actually worked, but subsequent layers were much tougher.
After one application and some scrubbing with MEK substitute and a nylon brush, this was the result. I was pleased so I ordered 2 gallons of Peel Away 7 and some extra paper. It's expensive stuff at $80 or so per gallon, but the easier cleanup, safety, and more pleasant smell is well worth it.
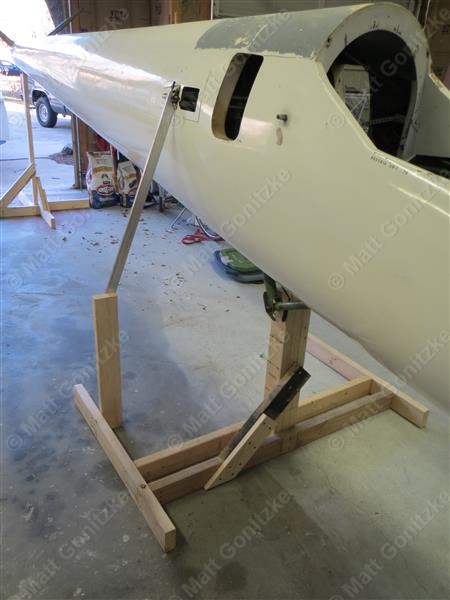
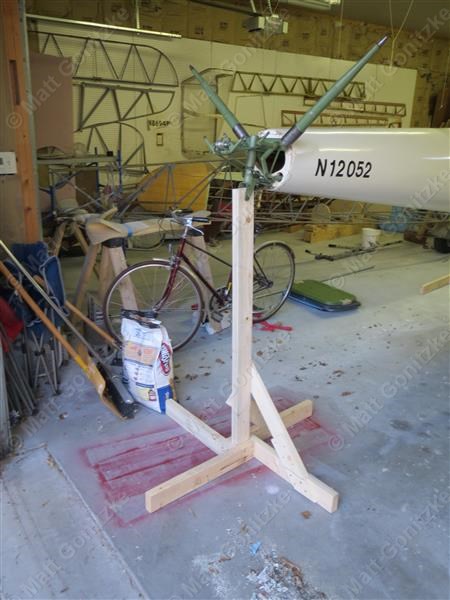
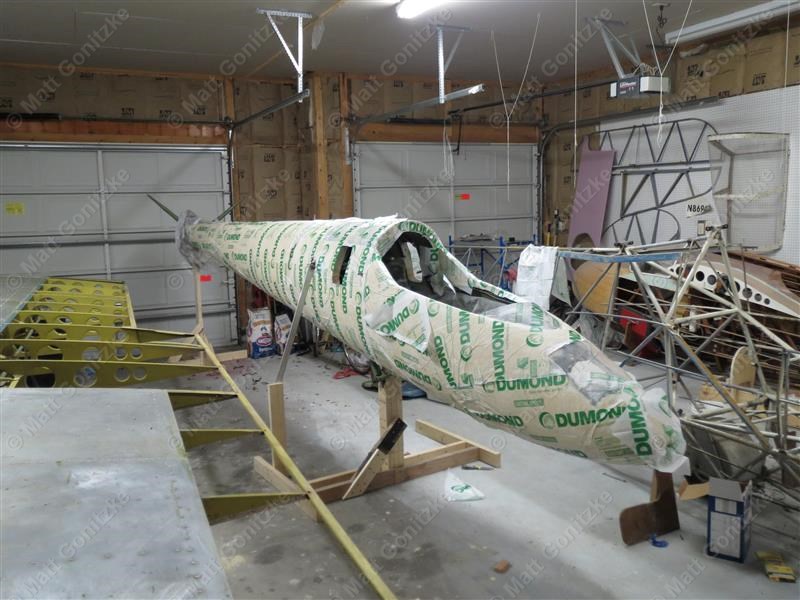
While I waited for the stripper to arrive, I removed the main wheel and tail wheel and made some stands to elevate the fuselage such that I could access both the top and the bottom. This worked, but if I'm every crazy enough to do this again, I'll be making a rotisserie so I don't have to lay on my back on the floor. When I'm older my body will probably not let me get away with such things.
Here's the tail stand. I think I sawed up and "reconfigured" the swing set I made when I painted the wings.
I coated the whole fuselage several times, getting a bit more off each time.

This is what it looked like after peeling off the paper and scraping. Subsequent applications took less and less off, as some of the filler from the fuselage repair was more or less untouched by the Peel Away stripper.
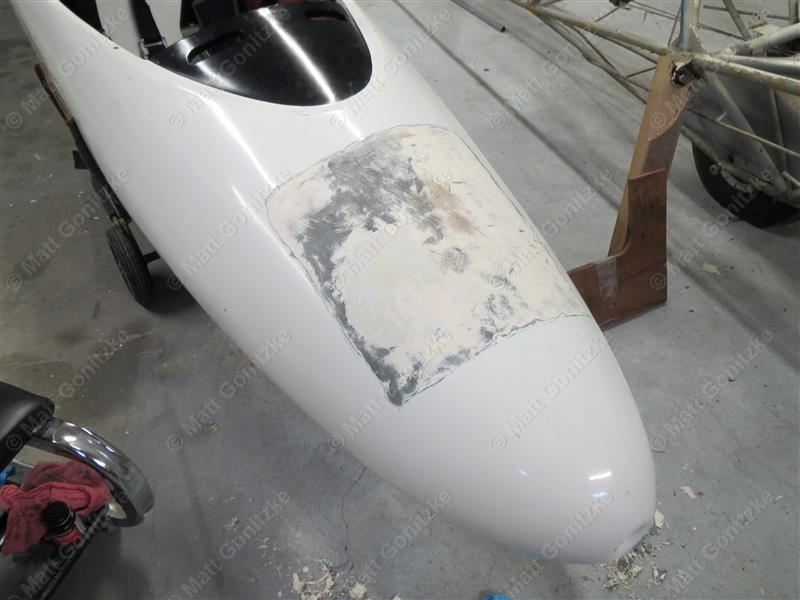
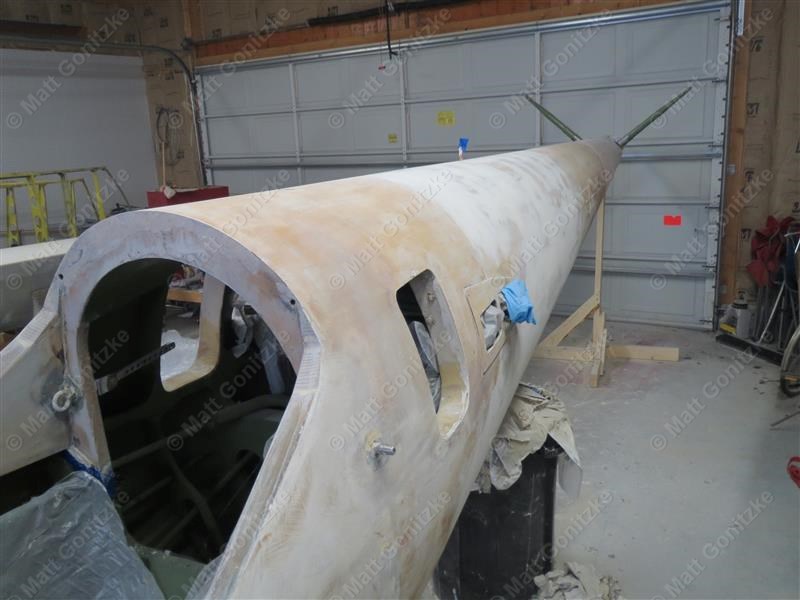
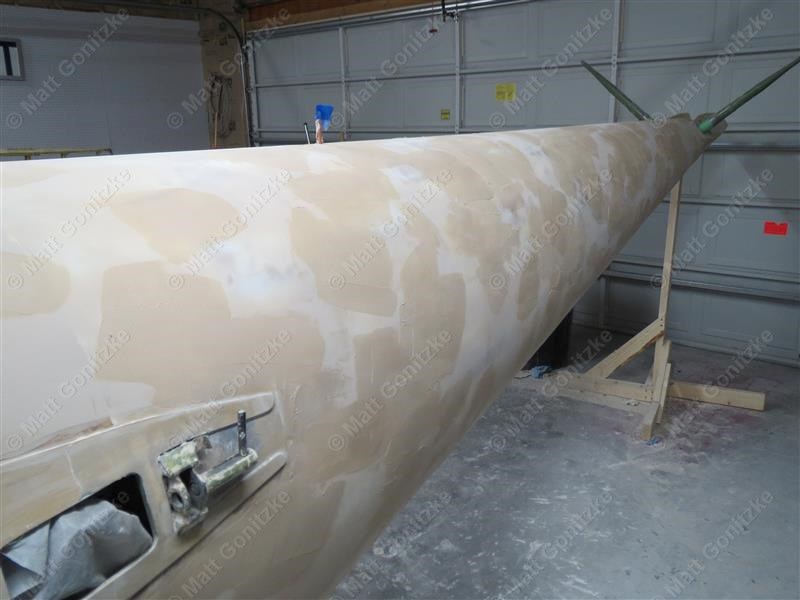
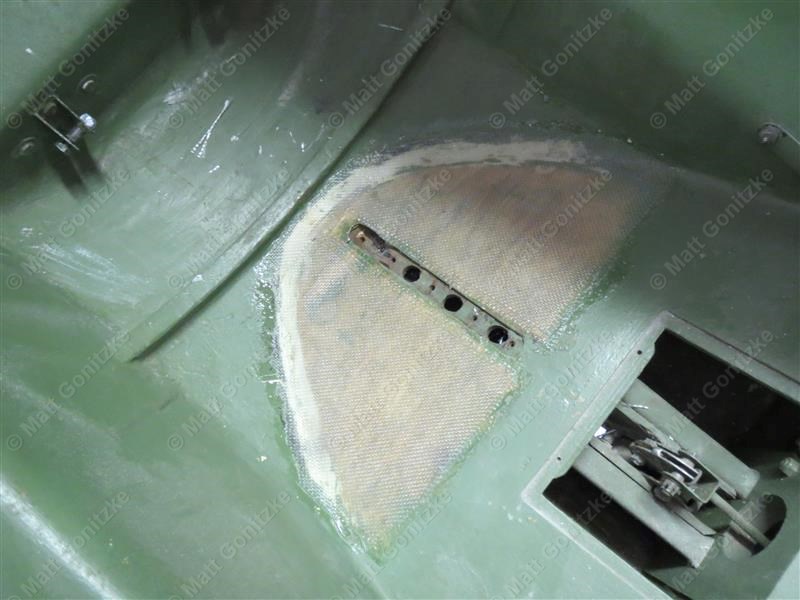
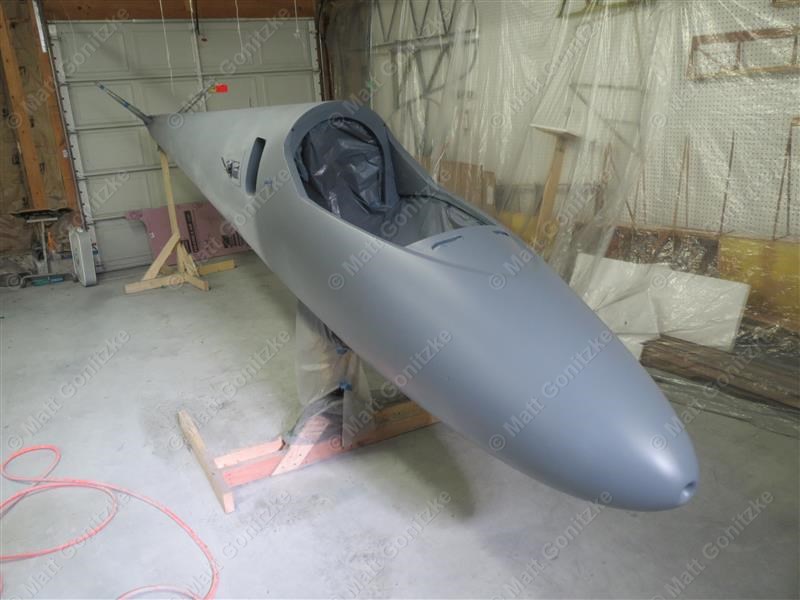
The fiberglass tailcone was probably the biggest challenge to strip and refinish. When all the paint was gone, I discovered that it had been damaged and repaired, probably several times, and yet still later I learned that it is almost impossible to sand filler on oddly-shaped parts like these.
The fancy paper that came with the stripper eventually ran out. I learned by experimentation that plain 'ol wax paper works about 95% as well at a fraction of the cost.
At this point I have forgotten how many weeks I spent stripping paint. I don't even want to go back and look at my records to find out. I think it was at least two months.
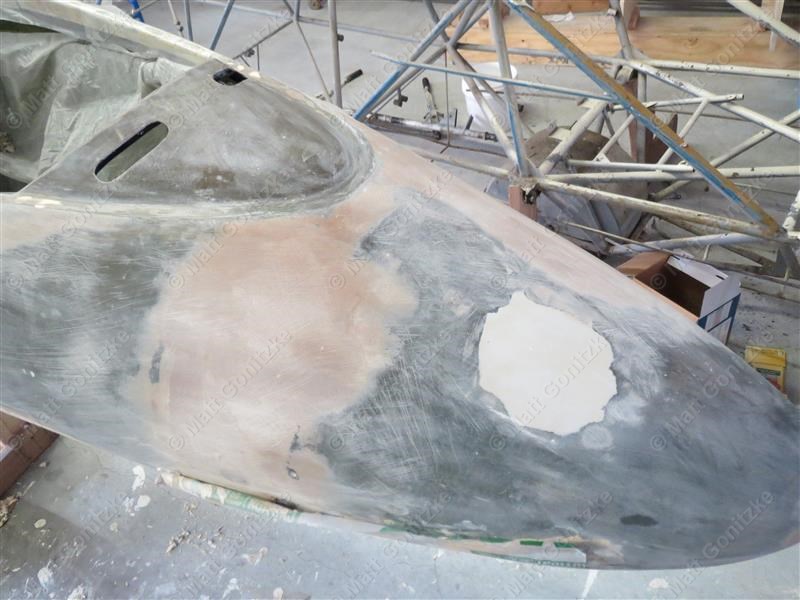
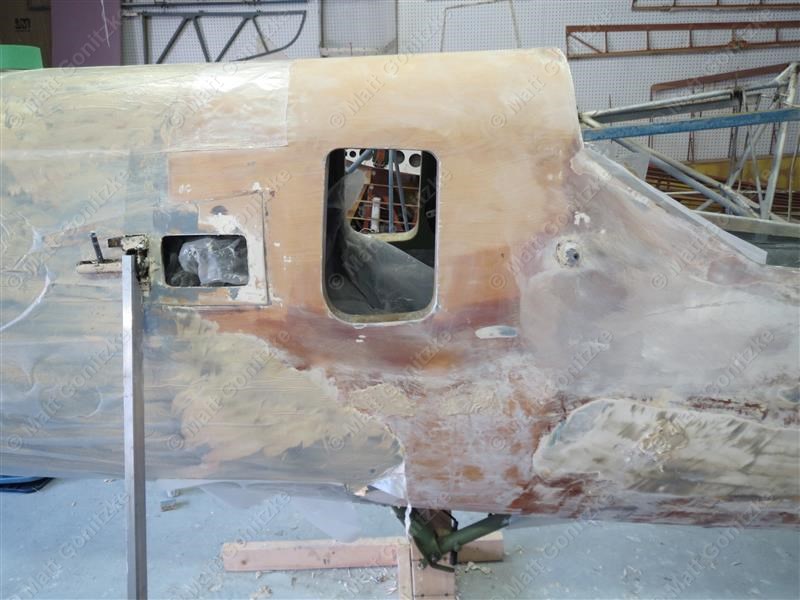
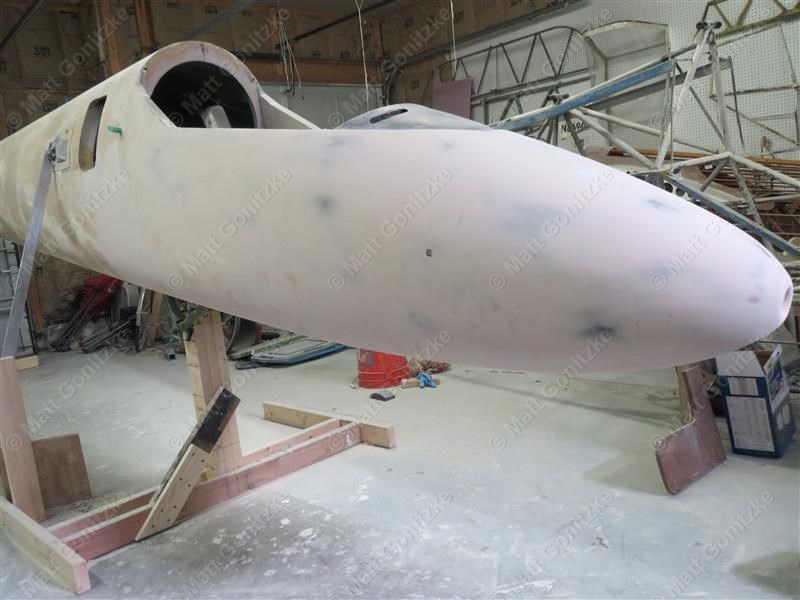
One of several rather ugly repairs to the nose cone. The bottom has a few, too. It took forever to fair these back in. Garage space was also at a premium, as a 2-22 also appeared in Tony's garage for him to fix up.
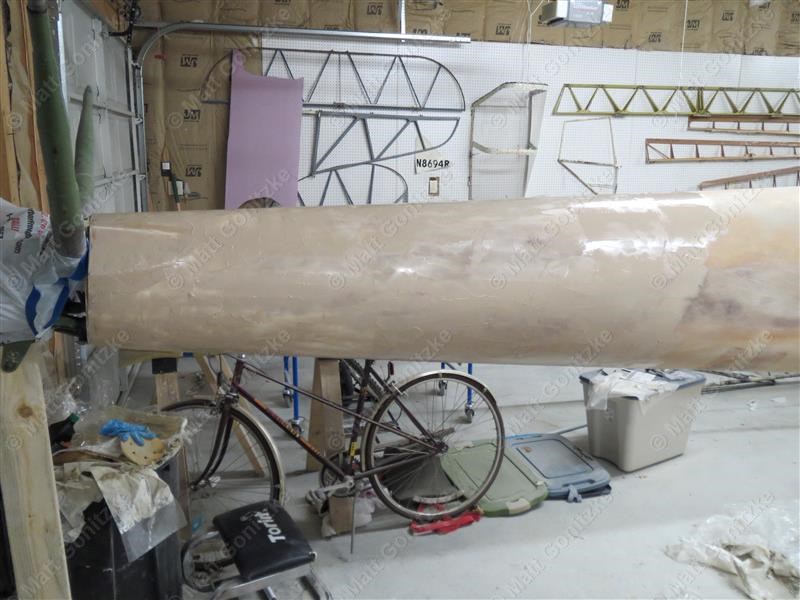
Probably about halfway there in this picture.
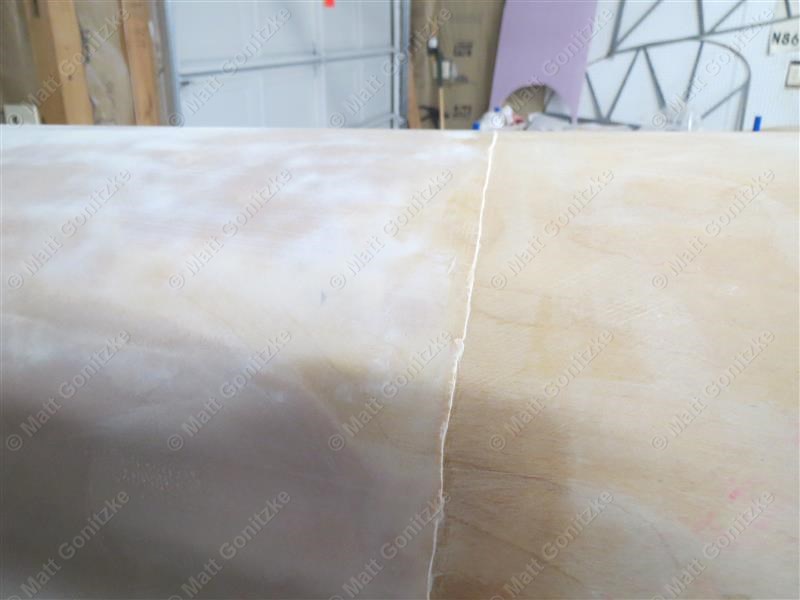
This is the general vicinity of the repair to the fuselage where it was broken in half in 1979. I don't know what kind of filler they used, but I don't ever want to see it again. No stripper known to man would touch it, and I ended up painstakingly sanding and chipping most of it off.
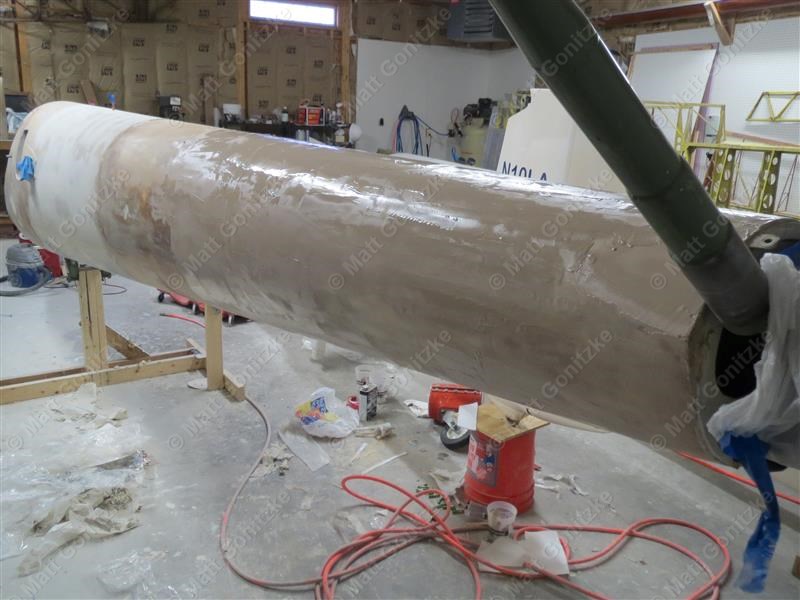
Very close to "good enough" in this picture before I started putting new filler back into the fuselage.
This is one of the scarf joints on the fuselage repair. It didn't quite end up flush, so there had been a bunch of filler around it to smooth it out. Because some of it had the original filler under it, I removed it all. I spent probably 3 hours with a dotco VERY carefully grinding away filler from the edge of this joint.
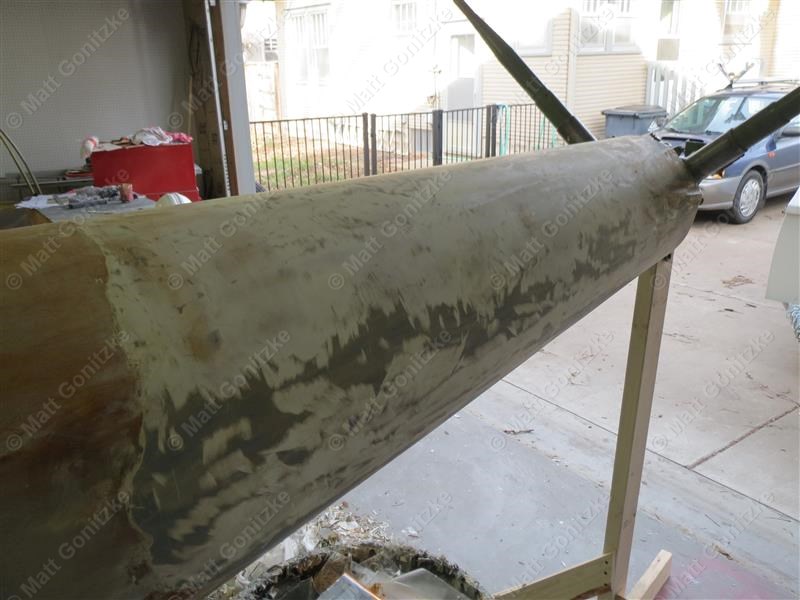
The aft part of the fuselage got stripped down to my satisfaction slightly before the front, so I started filling it. The part at the tail where tail surfaces are faired in was difficult, as there was a lot of balsa used to create the shape. This was hard to sand without damaging the balsa, as the balsa is much softer than the epoxy/microballoon mixture.
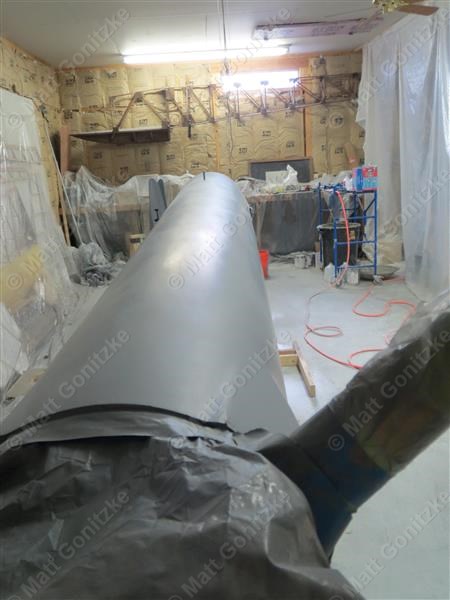
Another view of the aft fuselage.
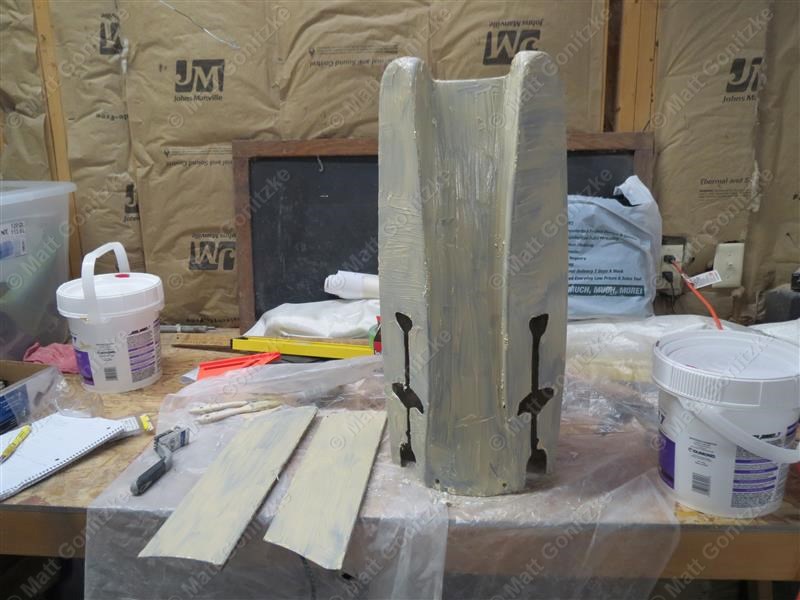
At this point I had made at least one pass over the entire fuselage with the filler, and now I was filling pinholes and voids and sanding them smooth. I used this sanding block kit from Eastwood, along with the self-adhesive sandpaper they sell, to sand the filler on the fuselage. I could not have been much happier with these sanding blocks. They have three metal rods that you can remove to adjust the flexibility of the blocks. This allowed me to get very smooth surfaces on the compound-contoured forward fuselage, as well as the rest of the fuselage. They are light enough that I didn't get as tired using them as I did when using my extruded aluminum sanding blocks. The sandpaper Eastwood sells is pretty good stuff. At the time I bought the kit, it also came with three rolls of sandpaper in 120, 220, and 320-grit. I used the 120 at first and then the 220 and 320, but one could probably get away without 120 and not have to spend as much time sanding out scratches at the end. I did not do a great job sanding out filler scrathes on the wings, and I wanted to redeem myself on the fuselage.
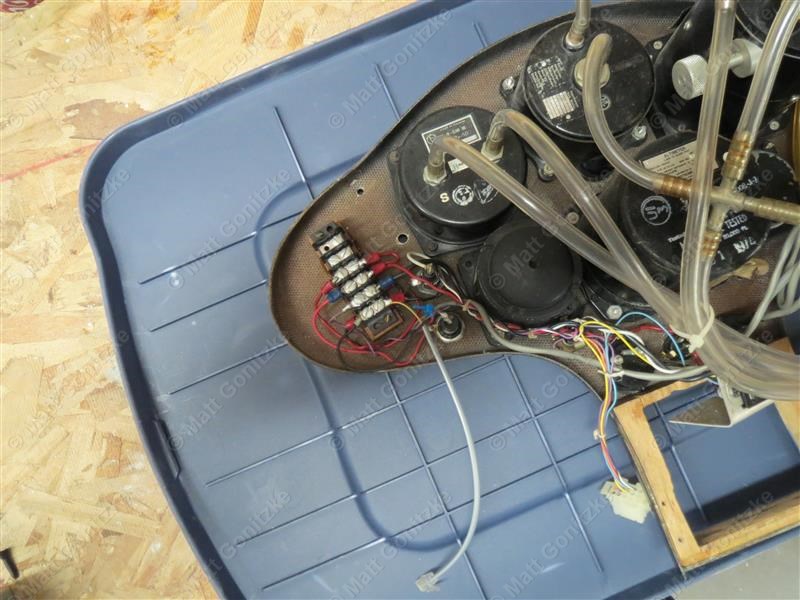
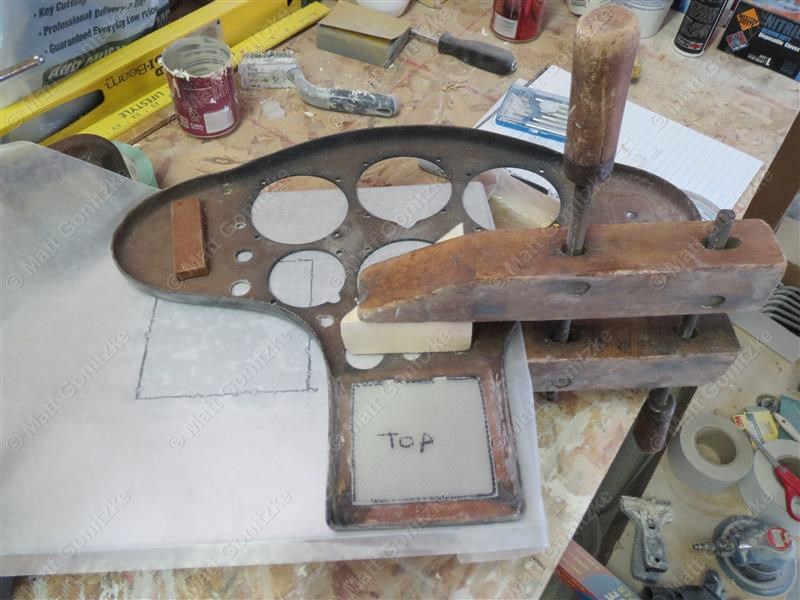
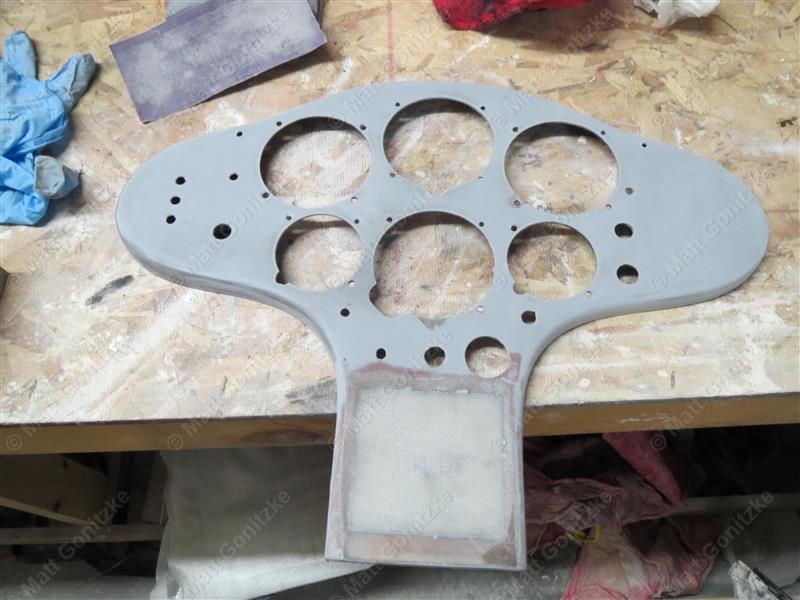
To break of the monotony of filling and sanding, I decided to start fixing the instrument panel. The wiring was not good quality, there were wires spliced into the middle of other wires, and it was all a tangled mess. The previous owner had issues with bad connections. I took out all of the old wires and started over.
I also had to fix the gigantic hole left in the panel by the removal of the old radio. I bought a used Becker 3201 from the Netherlands to install.
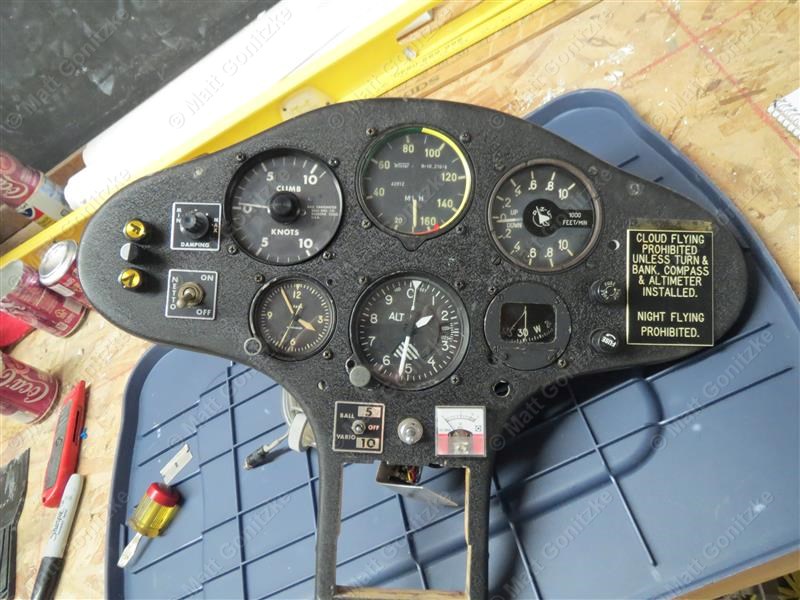
This is a good "before" picture for the instrument panel. I was going to redo the crinkle paint until I learned that it wasn't original.
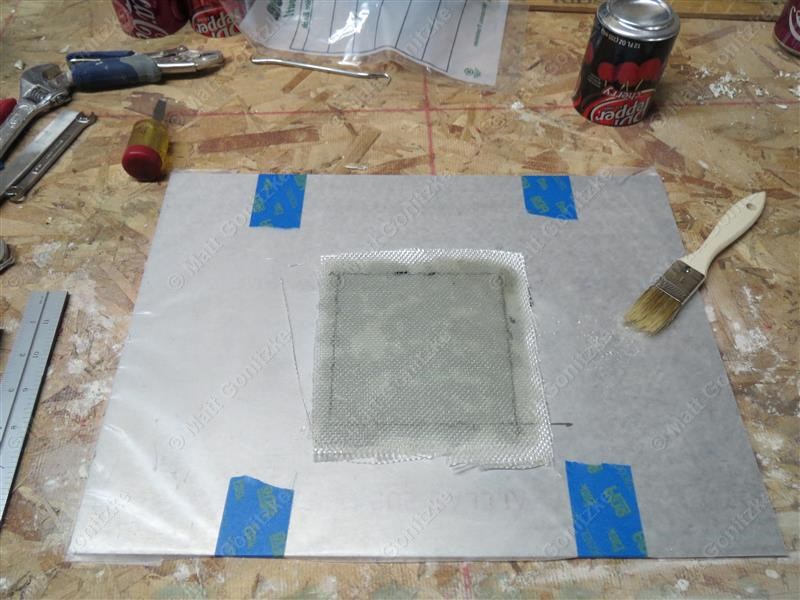
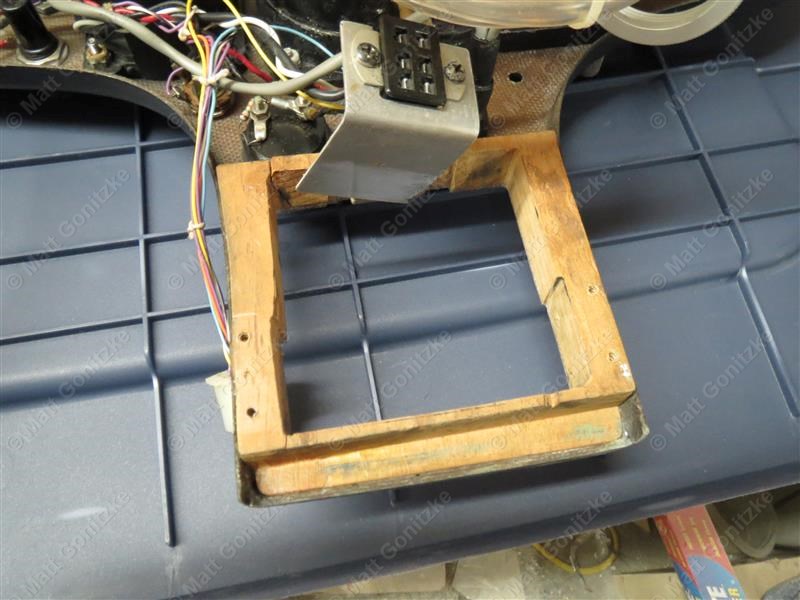
I fabricated a patch panel for the instrument panel and then trimmed it to fit and then scarfed it in to the panel.
More sanding was accomplished while I waited for the patch panel to cure.
Here is the patch after I trimmed it to fit in the hole.
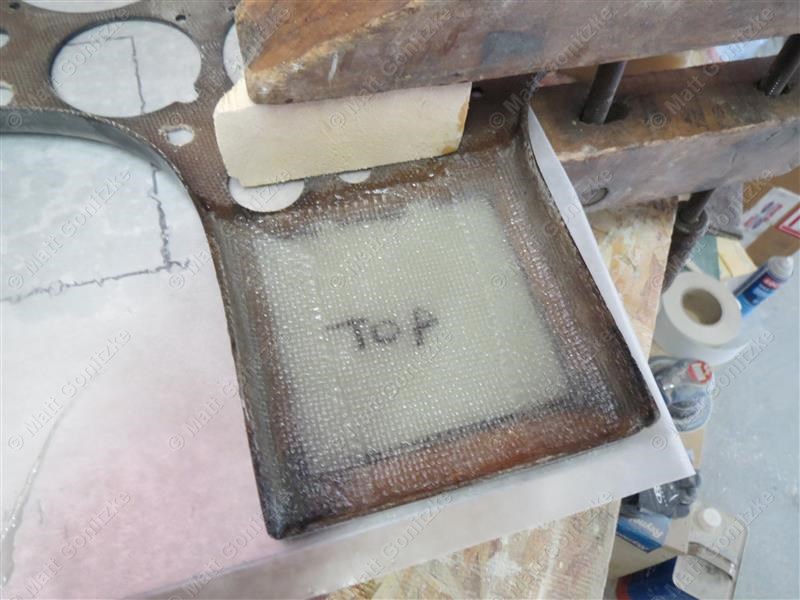
Here is the patch after installation.
This piece of plywood forming the seat also had some cracks in it, so I elected to strenghten it with some fiberglass and epoxy.
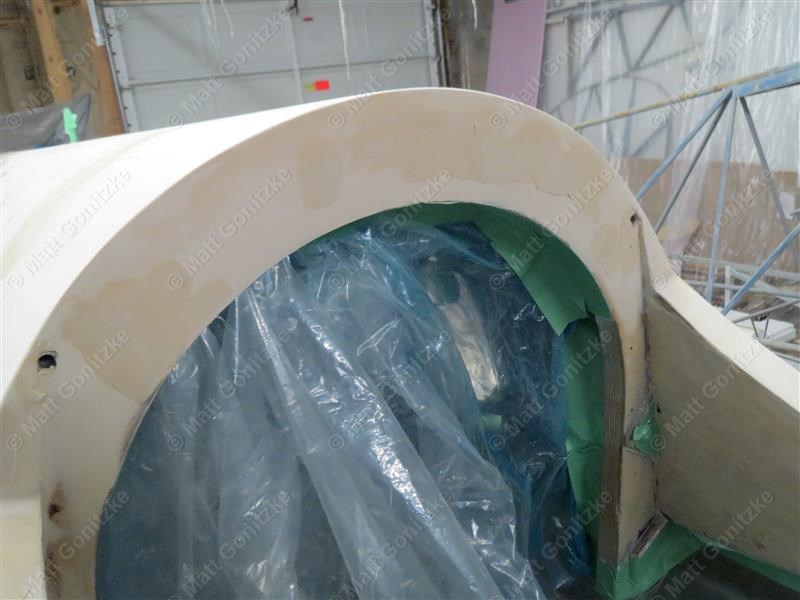
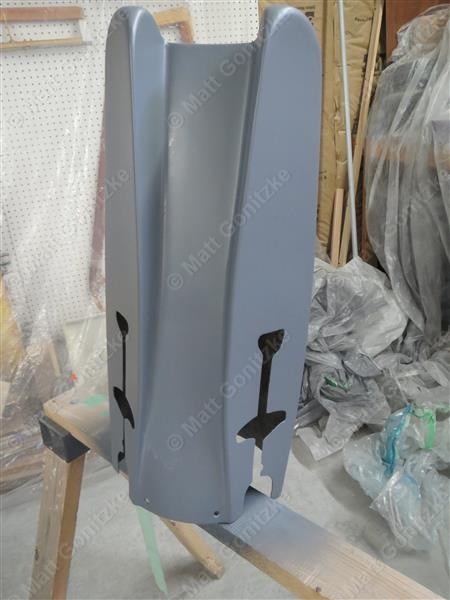
One of the last remaining challenges was fairing in the canopy. After I removed all the old filler, there was about a 1/4" gap between the aft edge of the canopy and the turtledeck. After much sanding and filling, I got it to fit pretty well.
This is the instrument panel after the area around the repair was filled and sanded with epoxy and microballoons to prepare it for paint. Notice the burgundy paint under the old gray primer. This is the original color of the instrument panel, to match the rest of the burgundy interior. I decided to repaint the panel in its original color.
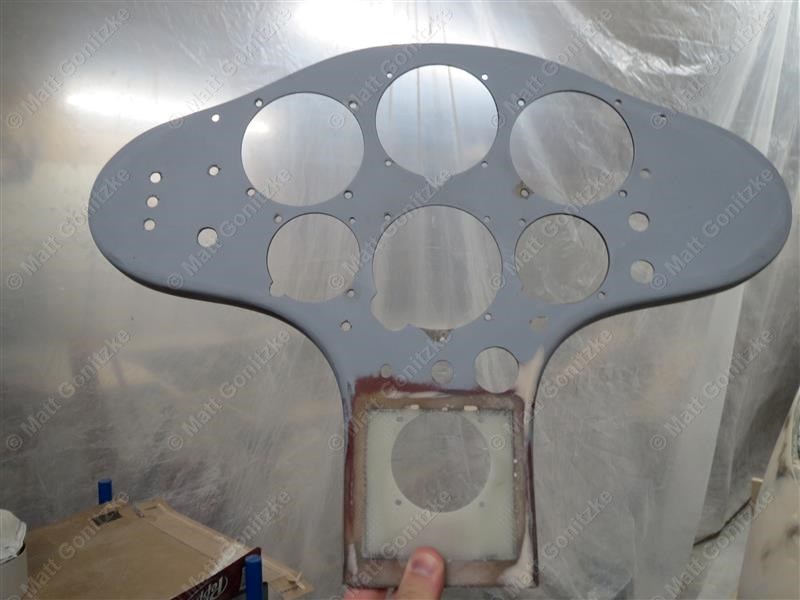
I got brave and very carefully cut a new hole in the patch for the radio.
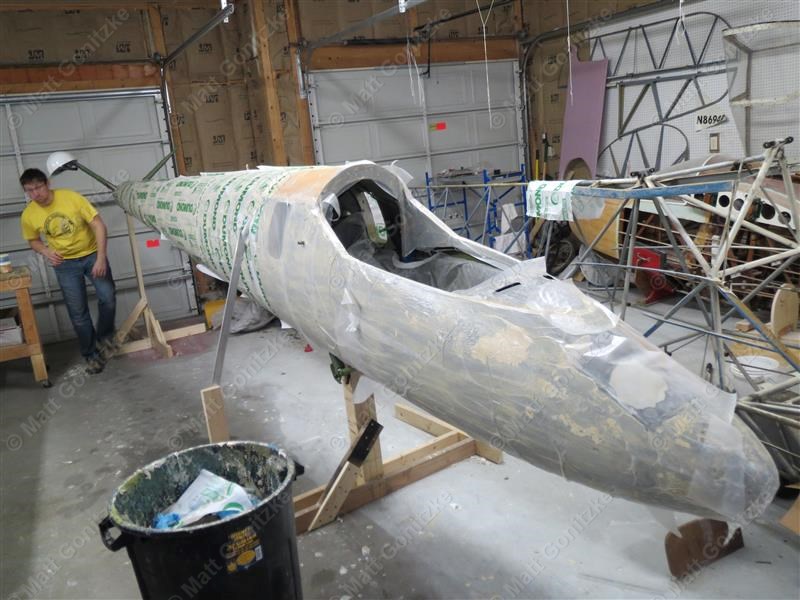
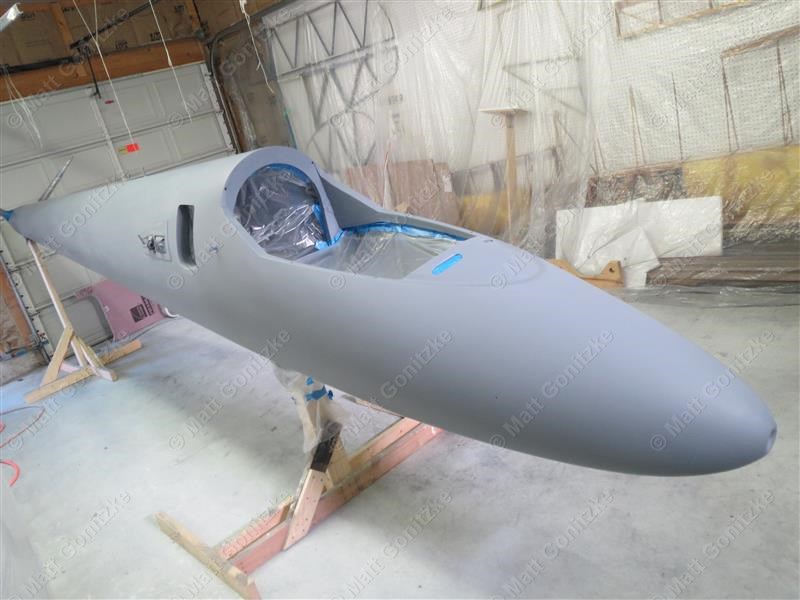
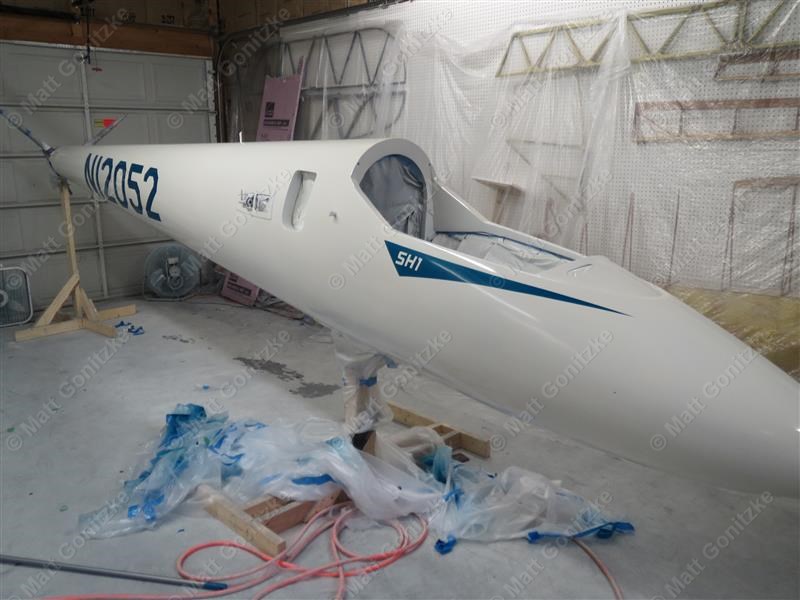
I finally declared the filler "good enough" sometime at the end of May (much later than I'd hoped) and primed the fuselage. I also put a couple coats of EkoFill over the fiberglass nose and other fiberglass parts as per the Stewart Systems instructions.
The tailcone after filling, sanding, and priming. Given the mess it was when I started, I was pretty happy with how it turned out.
The smooth reflections off of the sanded primer were a good sign that I had done a good job of sanding and filling.
With everything sanded one final time with 320-grit sandpaper, there was only one thing left to do...
...Paint. The first time I tried to do the white, it was a disaster. The calibrated hole in the viscosity cup had partially clogged, causing me to mix the paint too thin. I sanded it all smooth and started over. The second attempt was successful. The next weekend I masked and painted the N-numbers and a stripe. It was so hot when I painted the stripe that I had perhaps 2 minutes between each tack coat before the next one needed to be applied. I was running around in circles. I spent about 13 hours masking off the numbers, 15 minutes spraying paint, and 2 hours pulling off masking tape. It was now June 15th, and I was hoping I'd be ready to fly the 2013 SSA Region 10 Low Performance Contest, my first glider contest. This would require me to finish the glider in enough time to fly it and become comfortable with it before the contest. The contest was 4th of July week and was rapidly approaching. With each passing day, it seemed less and less likely that I'd make it. A couple weeks before, my grandfather passed away, requiring a quick trip to Wisconsin and back, and the same day, I managed to stab myself in the hand trying to cut a zip tie, costing me a trip to the ER and rather limited use of my right hand for a couple weeks.
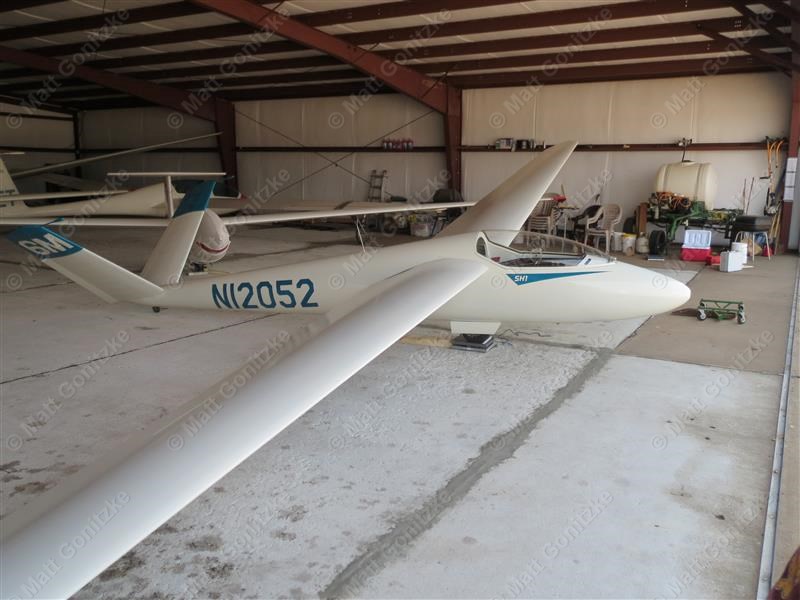
Fast forward to June 23rd: Glider is all back together, instrument panel was conveniently re-wired during my Electrical Systems A&P class, and the Austria was reassembled and re-weighed. Interestingly, it gained some weight, about 7 lbs. Part of this is the new radio, which wasn't super light.

Finally, on June 29th, about 4 days before the start of the contest, I flew it again for the first time.
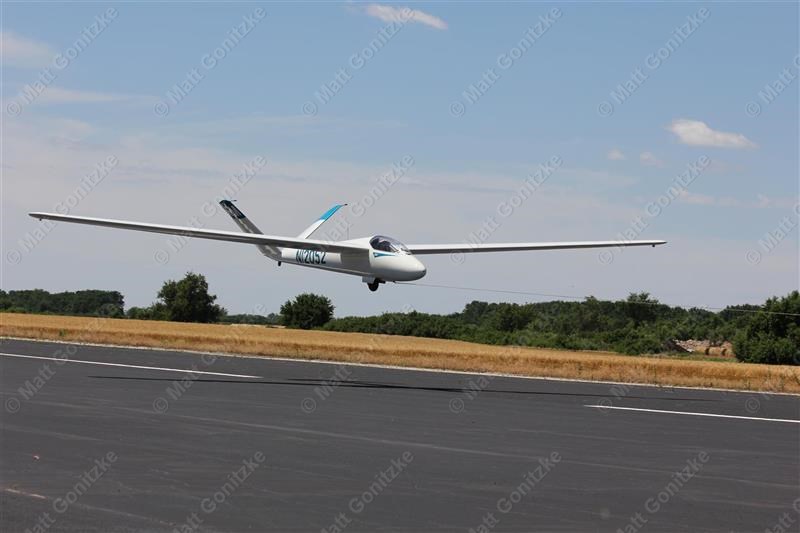
This was only my 4th flight in the glider since I bought it, and I needed to be ready to fly in a contest in days.
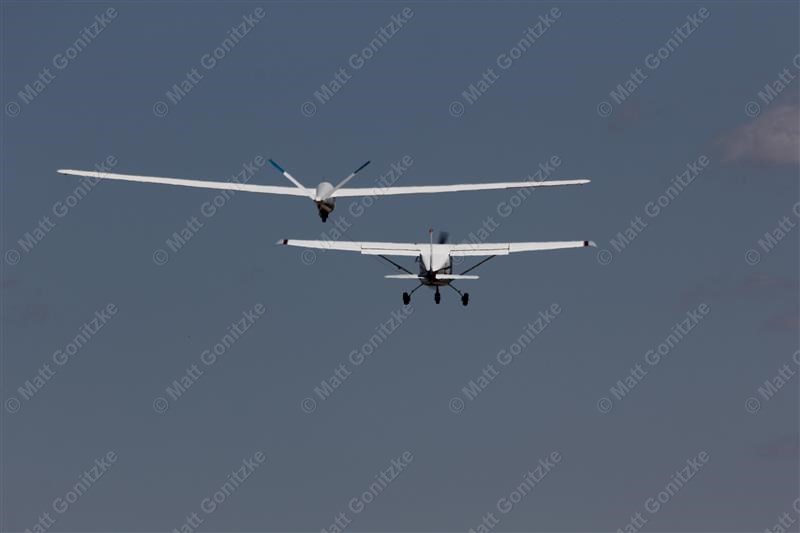
I ended up flying for about 6 days straight between this day and the first no-fly day of the contest. I managed to get in a 100km flight to qualify for the contest, as well as a nice 4.2 hour flight on the practice day. Unfortunately, high winds and rain kept us to one contest day. I finished 13th out of 19, not bad for my first contest and the fact that I still didn't have too much time in my glider.
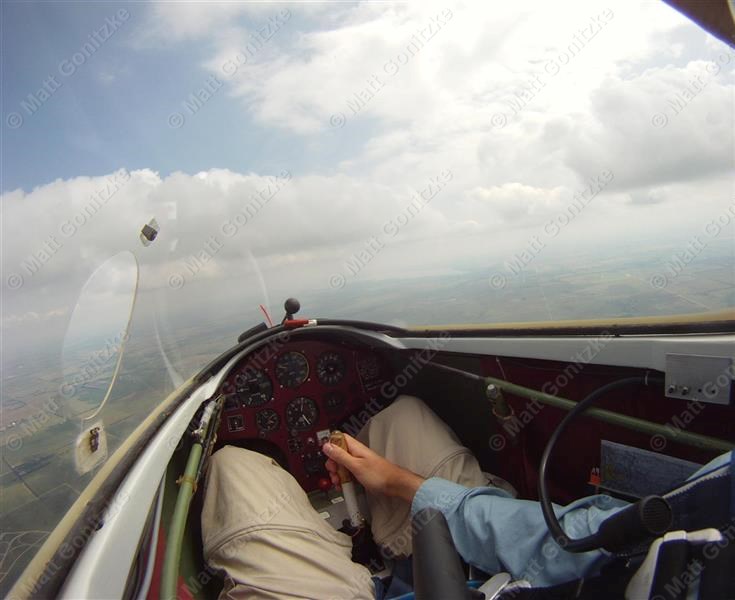
The end of the contest at Sunflower began a period of about six weeks of rain. In late August I was finally able to fly again. Here is the wonderful view from inside, with the new burgundy instrument panel that matches the other parts of the interior.

Finally finished! Well, sort of. I need to make the tail dolly usable, add a tow bar so I don't have to push the glider to the end of the runway, make a wing wheel, add some wing tip wheels, paint the glareshield black, get a new brake cable made, replace the main tire...I guess it's never totally "done"...there's always something left to do.